Getting Started
AWS Copilot makes it easy to deploy your containers to AWS in just a few steps. In this tutorial we’re going to do just that - we’re going to deploy a sample front end service that you can visit in your browser. While we’ll be using a sample static website in this example, you can use AWS Copilot to build and deploy any container app with a Dockerfile. After we get your service all set up, we’ll show you how to delete the resources Copilot created to avoid charges.
Sound fun? Let’s do it!
You’ll need a few things to use AWS Copilot - the AWS Copilot binary, AWS CLI, Docker Desktop and AWS credentials.
Follow our instructions here on how to set up and configure all these tools.
In this example, we’ll be using a sample app that’s just a simple static website - but if you already have something you’d like to deploy, just open your terminal and cd into your Dockerfile’s directory.
Otherwise you can just clone our sample repository. In your terminal, copy and paste this code. This will clone our sample app and change directories to it.
$ git clone https://github.com/aws-samples/aws-copilot-sample-service example
$ cd exampleNow this is where the fun starts! We have our service code and our Dockerfile and we want to get it deployed to AWS. Let’s have AWS Copilot help us do just that!
From within your code directory run:
$ copilot init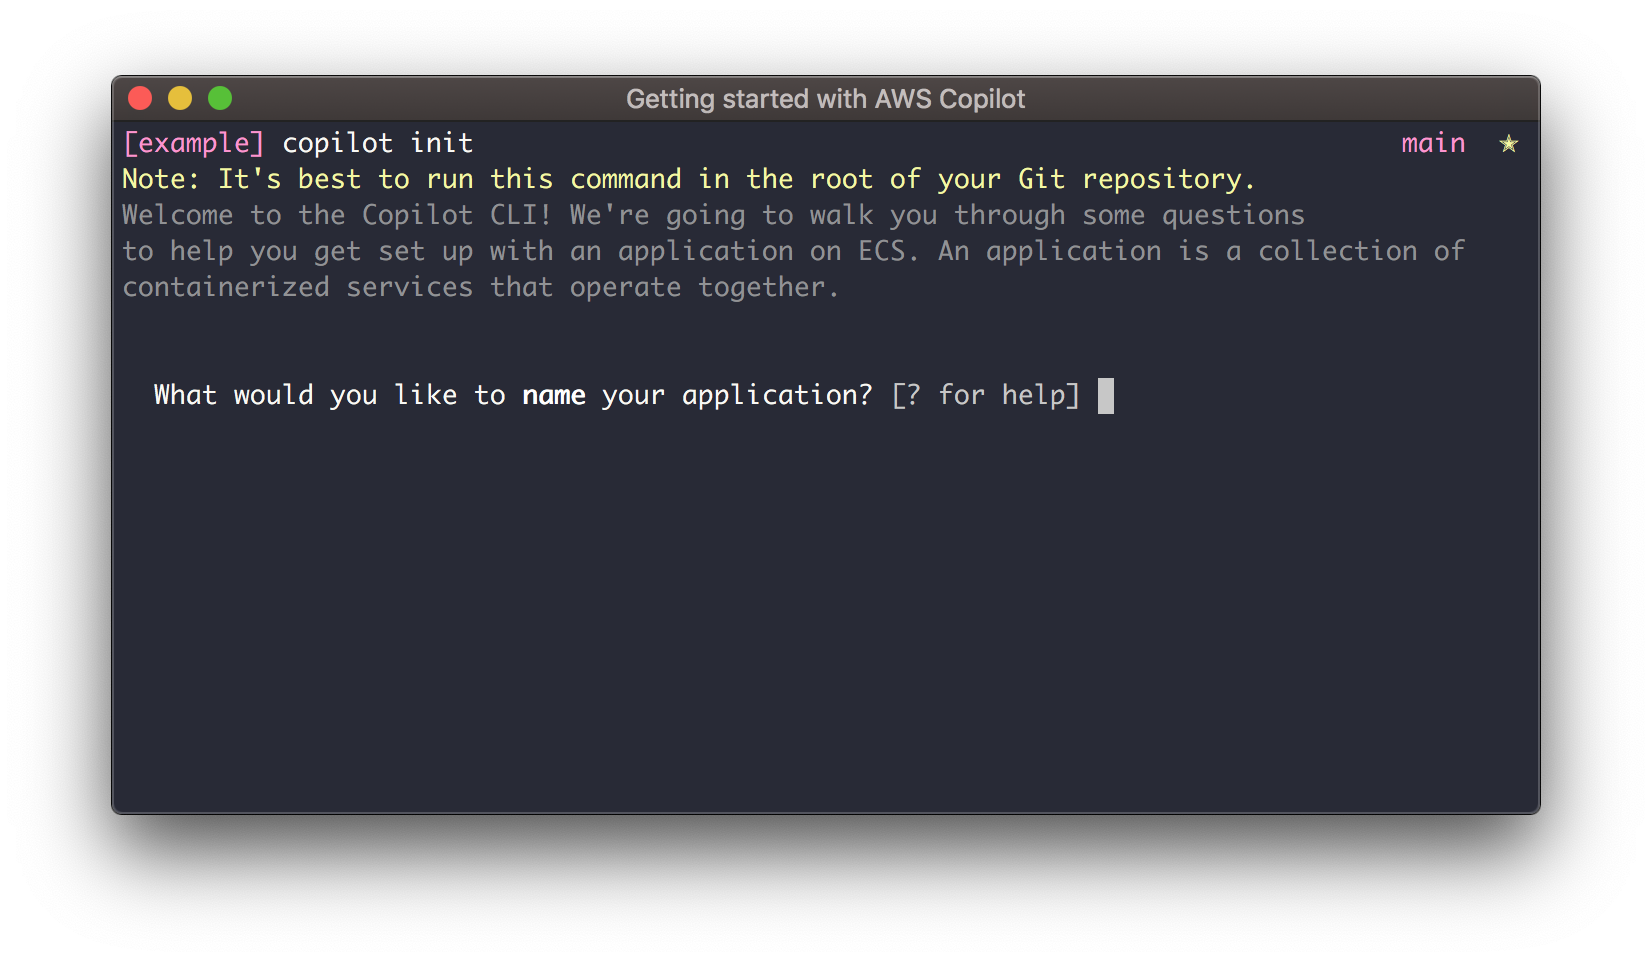
The next thing we’re going to do is answer a few questions from Copilot. Copilot will use these questions to help us choose the best AWS infrastructure for your service. There’s only a few so let’s go through them:
- “What would you like to name your application” - an application is a collection of services. In this example we’ll only have one service in our app, but if you wanted to have a multi-service app, Copilot makes that easy. Let’s call this app example-app.
- “Which service type best represents your service's architecture?” - Copilot is asking us what we want our service to do - do we want it to service traffic? Do we want it to be a private backend service? For us, we want our app to be accessible from the web, so let's hit enter and select Load Balanced Web Service.
- “What do you want to name this Load Balanced Web Service?” - now what should we call our service in our app? Be as creative as you want - but I recommend naming this service front-end.
- “Which Dockerfile would you like to use for front-end?” - go ahead and choose the default Dockerfile here. This is the service that Copilot will build and deploy for you.
Once you choose your Dockerfile, Copilot will start setting up the AWS infrastructure to manage your service.

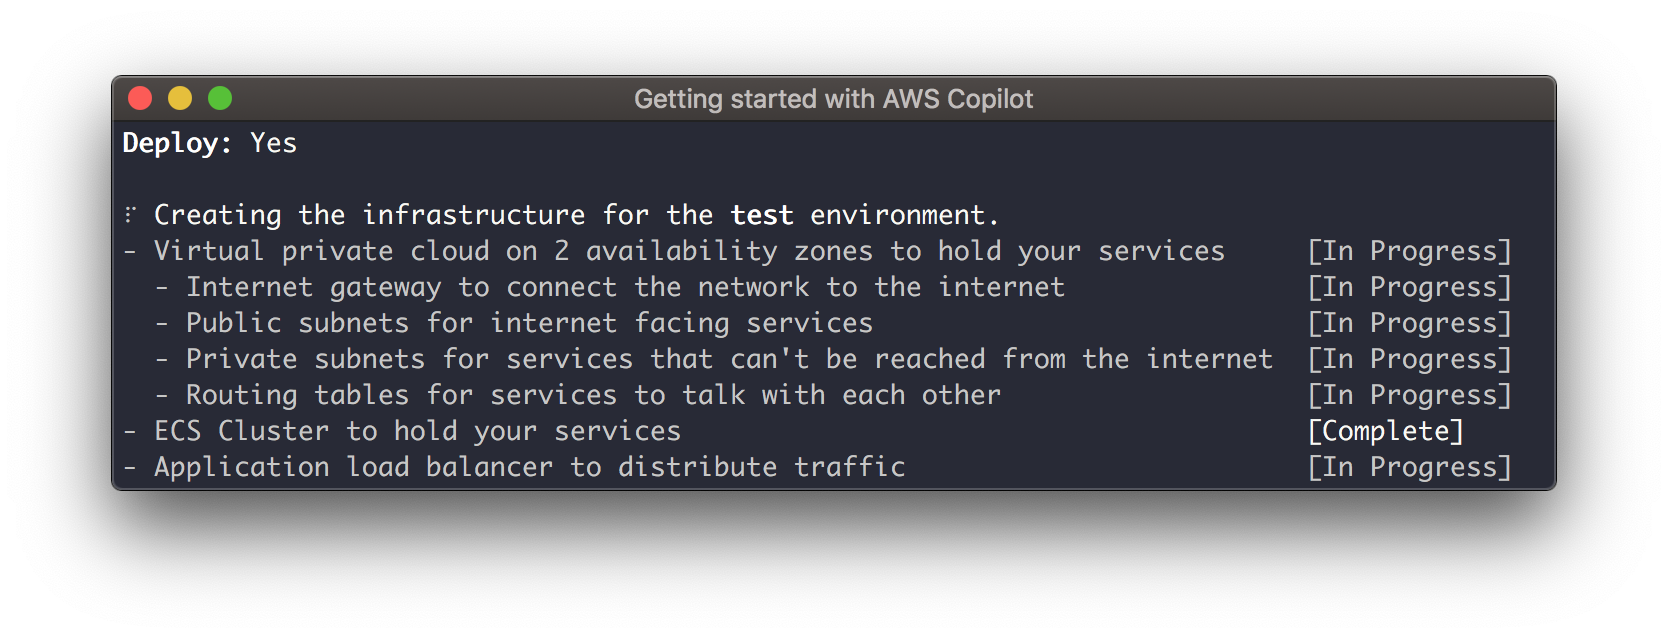
Once Copilot finishes setting up the infrastructure to manage your app, you’ll be asked if you want to deploy your service to a test environment type yes.
Now we can wait a few minutes ⏳ while Copilot sets up all the resources needed to run your service. After all the infrastructure for your service is set up, Copilot will build your image and push it to Amazon ECR, and start deploying to Amazon ECS.
After your deployment completes your service will be up and running on AWS Fargate and Copilot will print a link to the URL 🎉!
Now that you've deployed your service, let's go ahead and run copilot app delete - this will delete all the resources Copilot set up for your application, including your ECS Service and the ECR Repository. To delete everything run:
$ copilot app delete --env-profiles test=default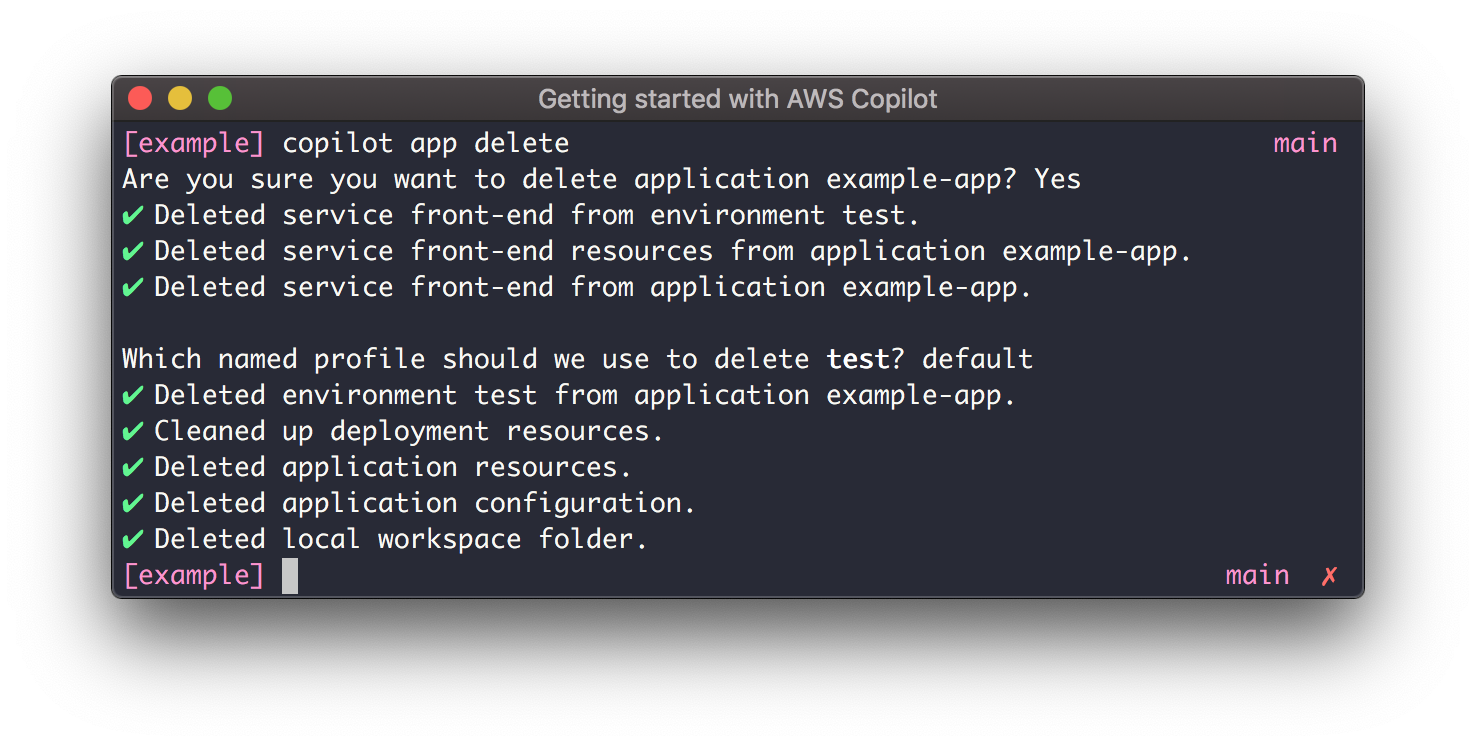
Congratulations! You have learned how to setup, deploy, and delete your container application to Amazon ECS using AWS Copilot. AWS Copilot is a command line tool that helps you develop, release and operate your container apps on AWS.
We hope you had fun deploying your app. Ready to dive deeper into AWS Copilot and learn how to build and manage production ready container apps on AWS? Check out the Develop section.