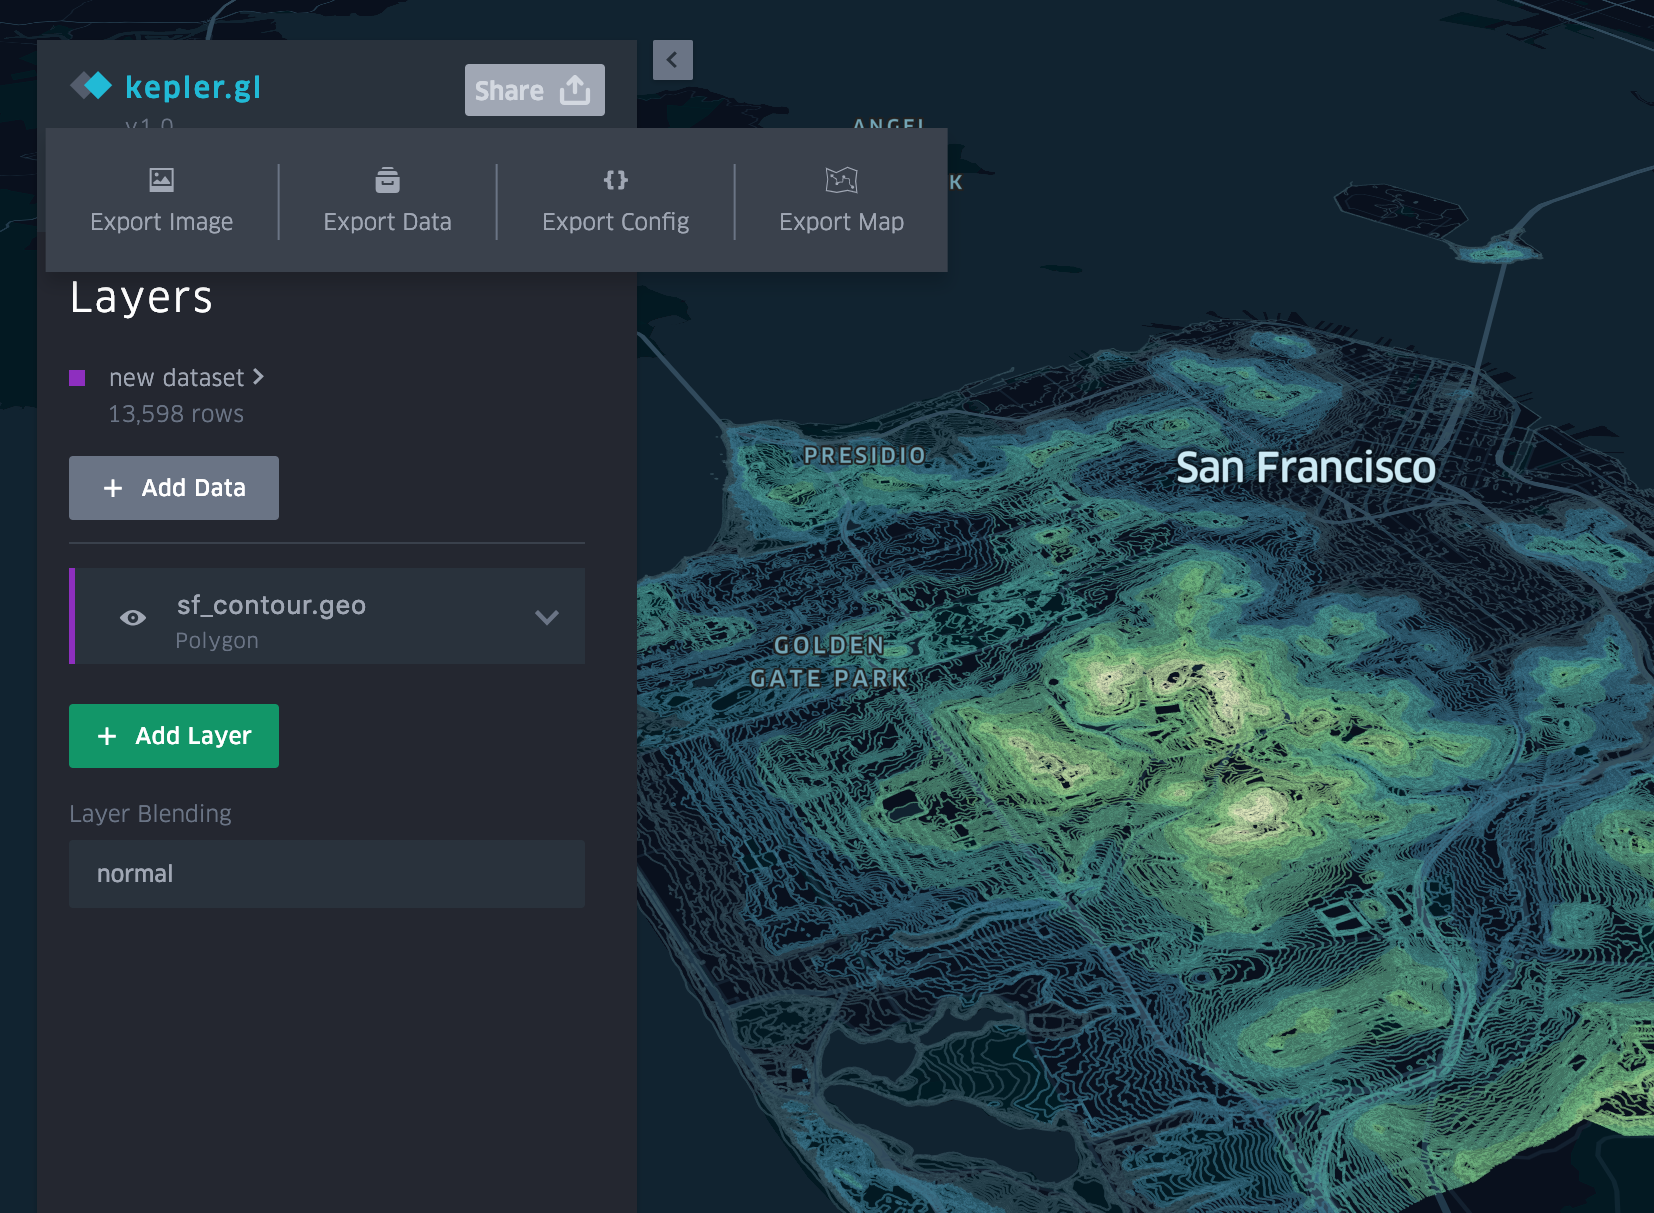
Kepler.gl is a tool designed for geospatial data analysis. This guide will help you get started creating visualizations in kepler.gl.
Kepler.gl will prompt you to add data to your map as soon as you open the web page. Upload your own CSV or GEOJSON file, or add kepler.gl sample data. Sample data is a great way to explore and get familiar with kepler.gl’s features.
Read more about adding Add data to the map.
Open the Data Layers menu to start building your visualization. Layers are simply data visualizations that can be built on top of one another. The map pictured above contains a GeoJSON path layer showing trip routes.
If you’re new to kepler.gl, play around with the different settings for each type of layer. Layers of the same type can differ greatly in appearance depending on how they’re configured, opening up new possibilities for data analysis.
Learn more about adding data layers .
Add filters to your map to limit the data that is displayed. Filters must be based on the columns in your dataset. To create a new filter, open the Filter menu and click Add Filter. Note that filters apply to all layers and cannot be toggled on and off.
Learn more about filters.
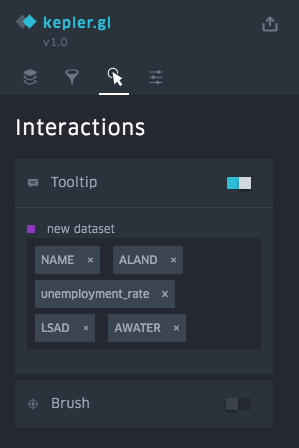
Change the settings on your map in the Interactions and Base Map menus. Customization options include tooltips, brush highlighting, base map style, map imagery toggles (water, parks, satellite image, etc.), and many more.
Read about base map styles and map settings.

Read about Save and export.


