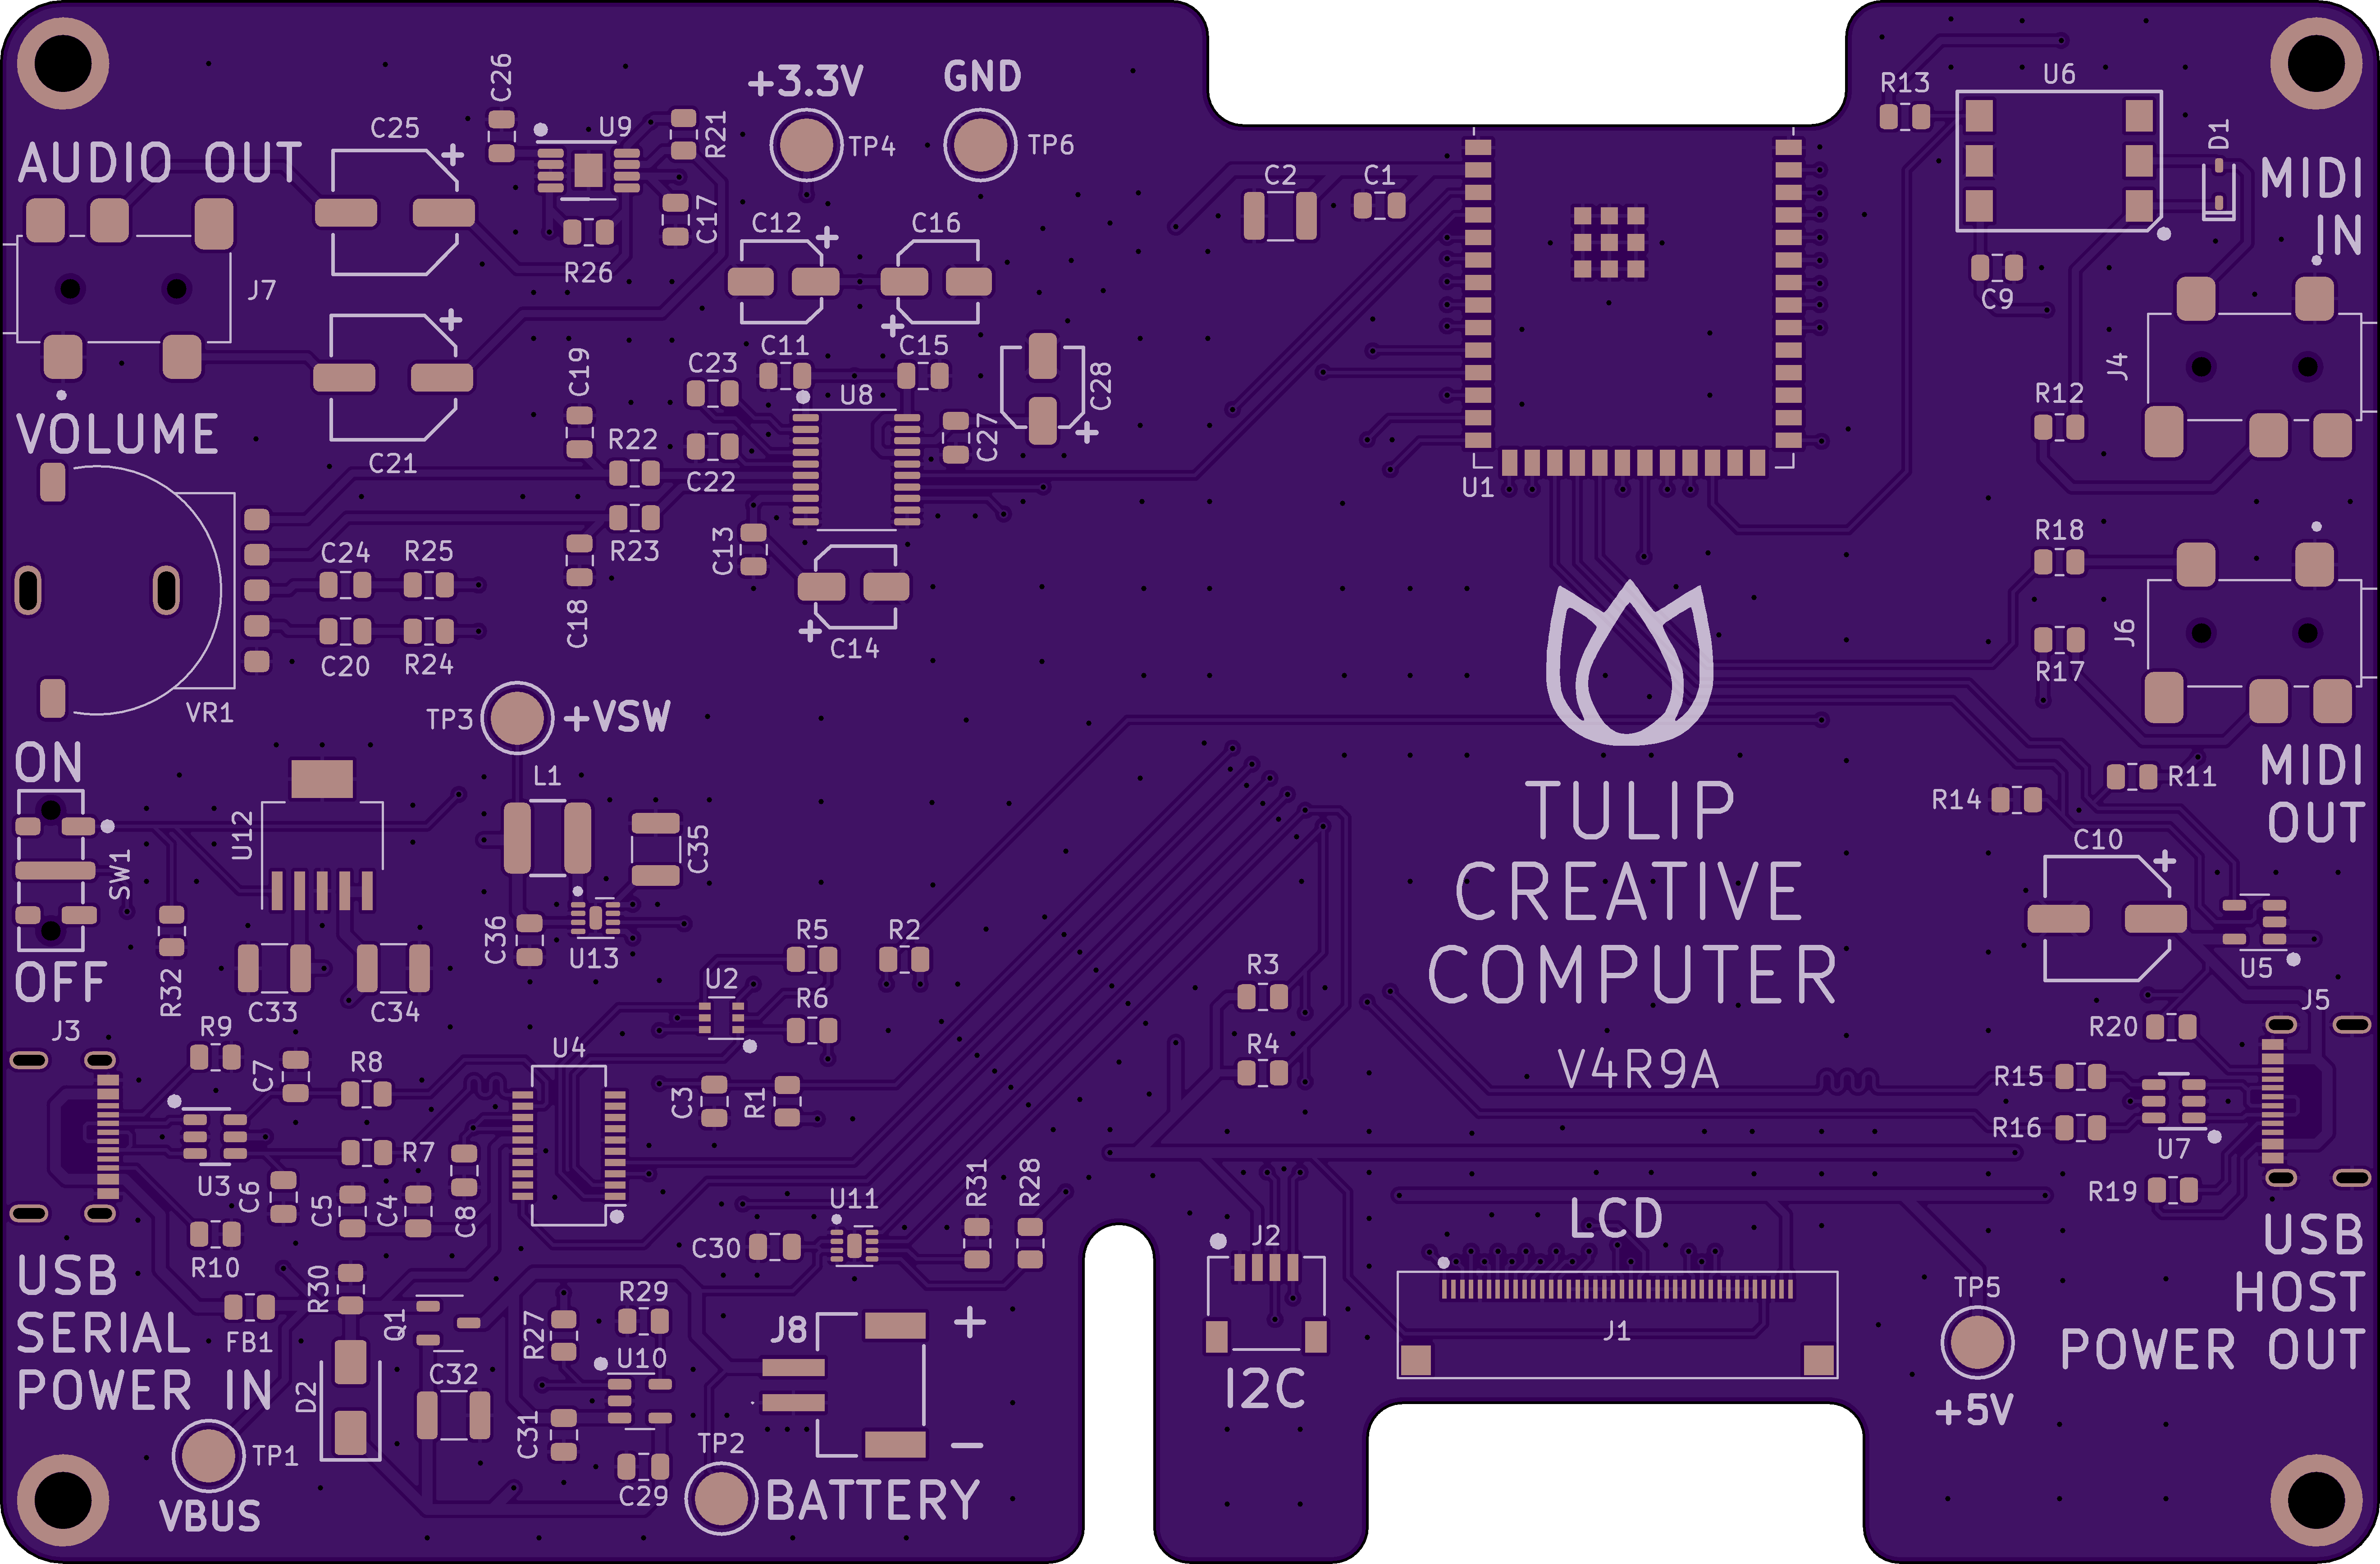
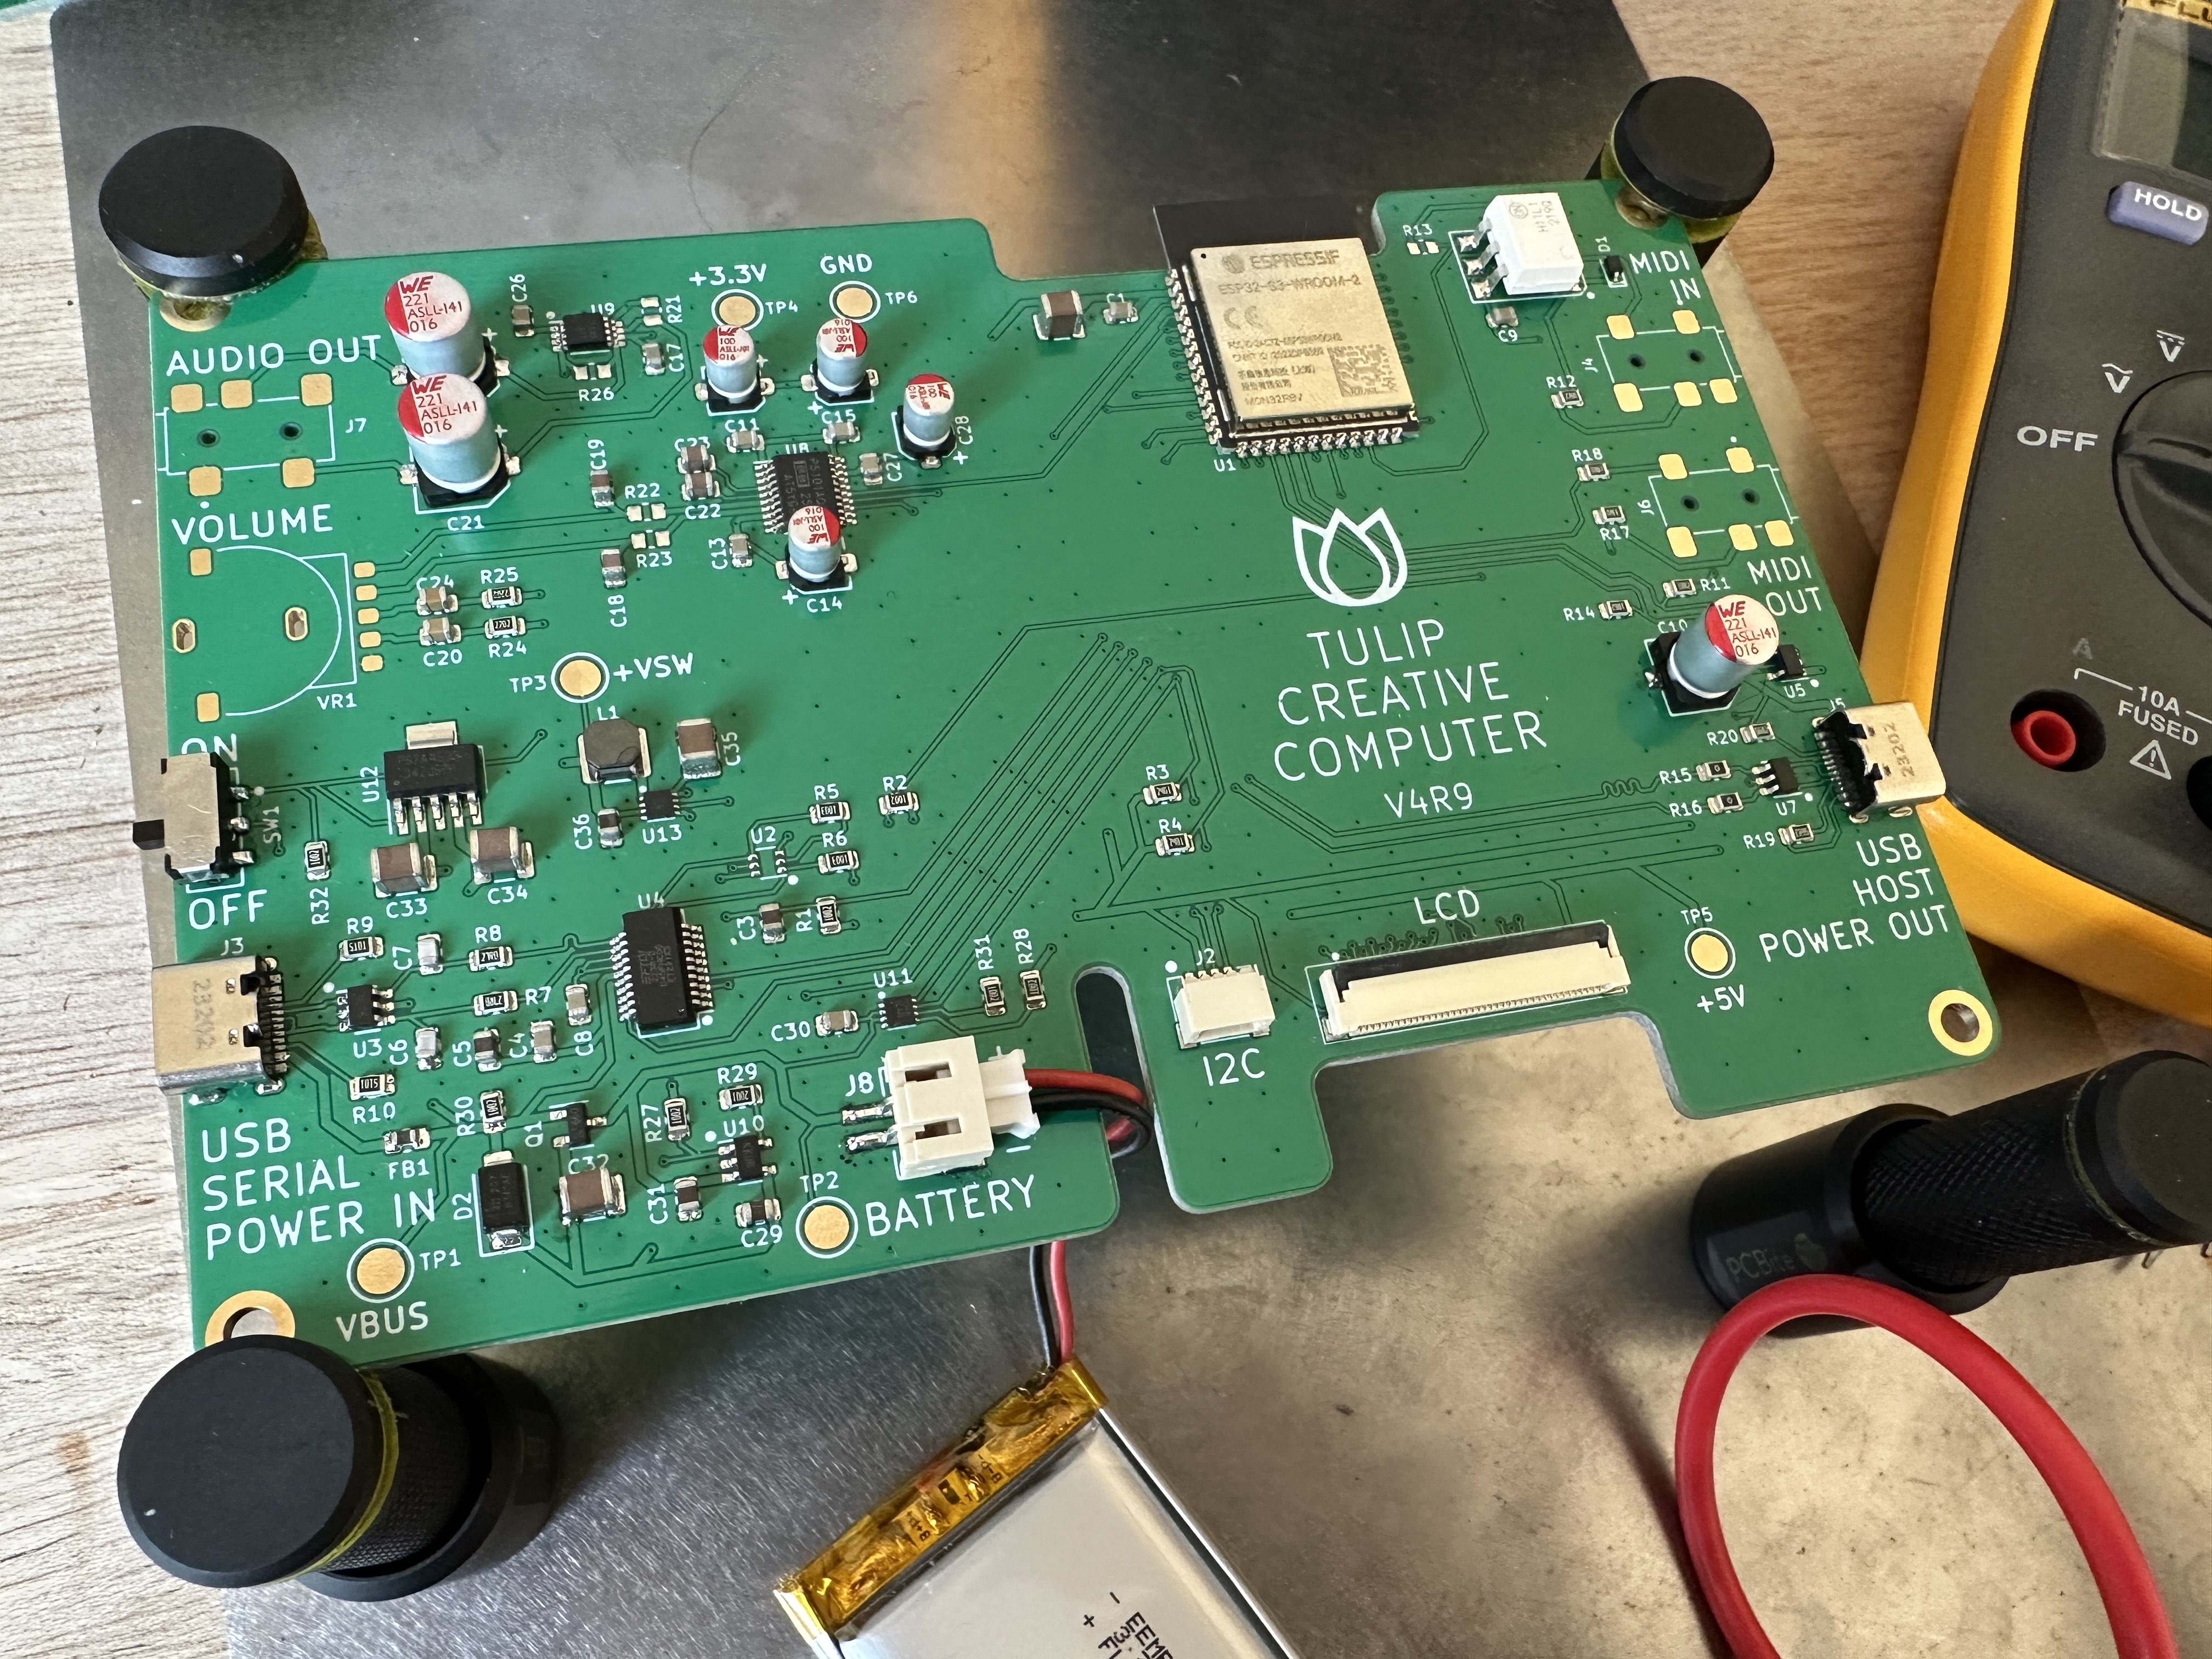
This page is for revision 9.
TulipCC fan NicoVR designed an integrated Tulip CC board. It's the nicest way to DIY your own Tulip: a display FPC connector, USB-C connector for charging, power and flashing, USB keyboard connector, 3 3.5mm jacks for audio + headphone out, MIDI in, and MIDI out, a power switch, and I2C "grove / stemma" header.
If you're comfortable with surface mount soldering, you can put together your own board relatively easily. You can order the PCBs from any board manufacturer like OSH Park, PCBway, or JLCPCB. You can also upload the BOM file to a service to have the entire board manufactured for you.
The BOM for the latest revision is here. KiCad files are here.
Almost any USB keyboard should work.
If this looks too hard, you can instead make a breakout board with just through hole solder, or with no soldering and a breadboard.
I've found assembling a Tulip with a hot plate and stencil the easiest way to go. You can get stencils from your PCB manufacturer when you're ordering the boards.
Attach the FPC cable to the RGB port on the display. You can use the cable that comes with the display.
The board can be powered from USB-C or via battery.
The 3.5mm MIDI jacks are for Type A TRS MIDI connectors. If you want to wire them to full size MIDI connectors, you should get Type A converters. You can also get Type-A to Type-B converter cables if your equipment is mostly Type B.
After you're done assembling, read about how to compile and flash Tulip.


