Adding instructions for setting up device from AWS IoT #27
There are no files selected for viewing
| Original file line number | Diff line number | Diff line change |
|---|---|---|
| @@ -1,13 +1,13 @@ | ||
| # Mbed OS example for AWS cloud | ||
| The example project is part of the [Arm Mbed OS Official Examples](https://os.mbed.com/code/). It contains an application that connects to an AWS MQTT broker and publishes a message every 1 second for 10 seconds or until a message is received. | ||
|
|
||
| You can build the project with all supported [Mbed OS build tools](https://os.mbed.com/docs/mbed-os/latest/tools/index.html). However, this example project specifically refers to the command-line interface tool [Arm Mbed CLI](https://github.com/ARMmbed/mbed-cli#installing-mbed-cli). | ||
|
|
||
| **Note**: To see a rendered example you can import into the Arm Online Compiler, please see our [import quick start](https://os.mbed.com/docs/mbed-os/v6.3/quick-start/build-with-the-online-compiler.html#importing-the-code). | ||
|
|
||
|
|
||
| # Downloading this project | ||
|
|
||
| 1. [Install Mbed CLI](https://os.mbed.com/docs/mbed-os/latest/quick-start/offline-with-mbed-cli.html). | ||
|
|
||
| 1. Clone this repository on your system, and change the current directory to where the project was cloned: | ||
|
|
@@ -23,22 +23,50 @@ You can build the project with all supported [Mbed OS build tools](https://os.mb | |
| $ mbed import mbed-os-example-for-aws && cd mbed-os-example-for-aws | ||
| ``` | ||
|
|
||
| # Establishing AWS IoT Core service | ||
|
|
||
| 1. Create an AWS account if you don’t have one, and login to it. | ||
|
|
||
| **NOTE**: If you have an admin for your AWS account, please contact them to add a user to the account. You should obtain your login credentials from your admin in this case. | ||
|
|
||
|
|
||
| 2. Set up device credentials and policy via the AWS IoT console. You can refer to the AWS documentation [here](https://docs.aws.amazon.com/iot/latest/developerguide/iot-gs.html). After having logged into your AWS account. Follow the steps there to | ||
| 1. Create an IoT policy | ||
| - Click on **IoT Core** | ||
| 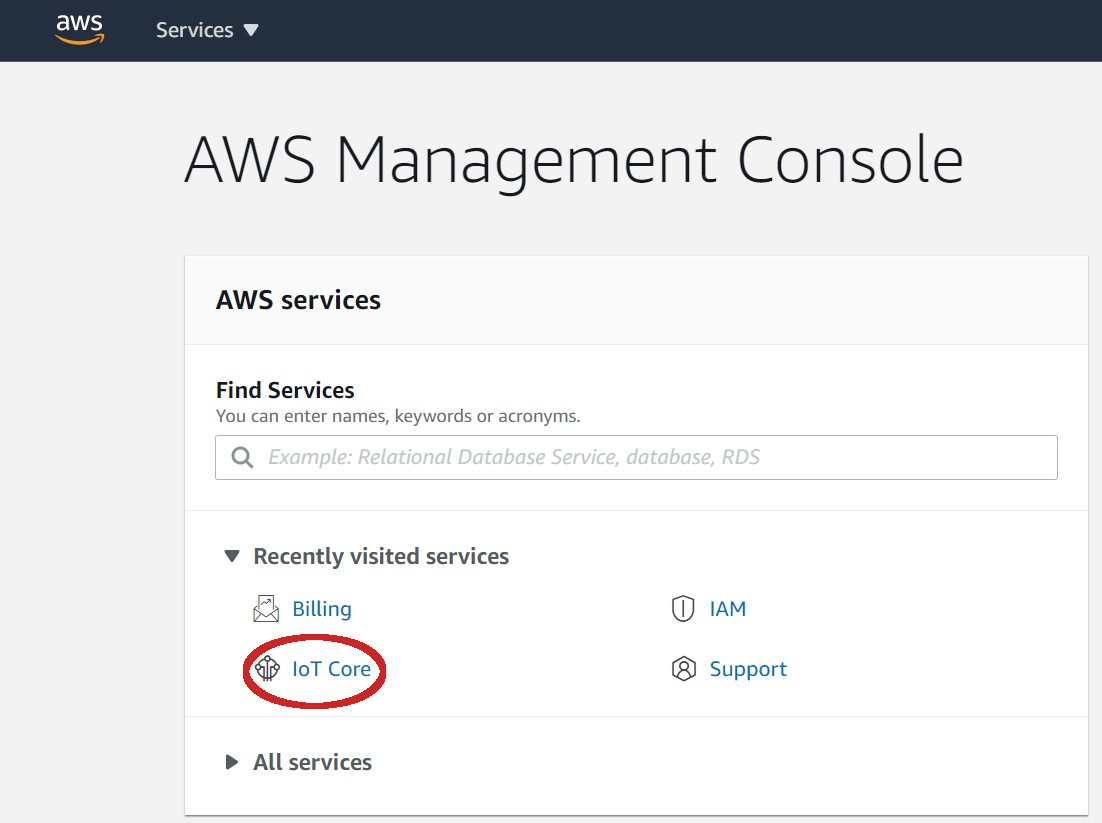 | ||
| - On the left panel click on **Secure > Policies** | ||
| 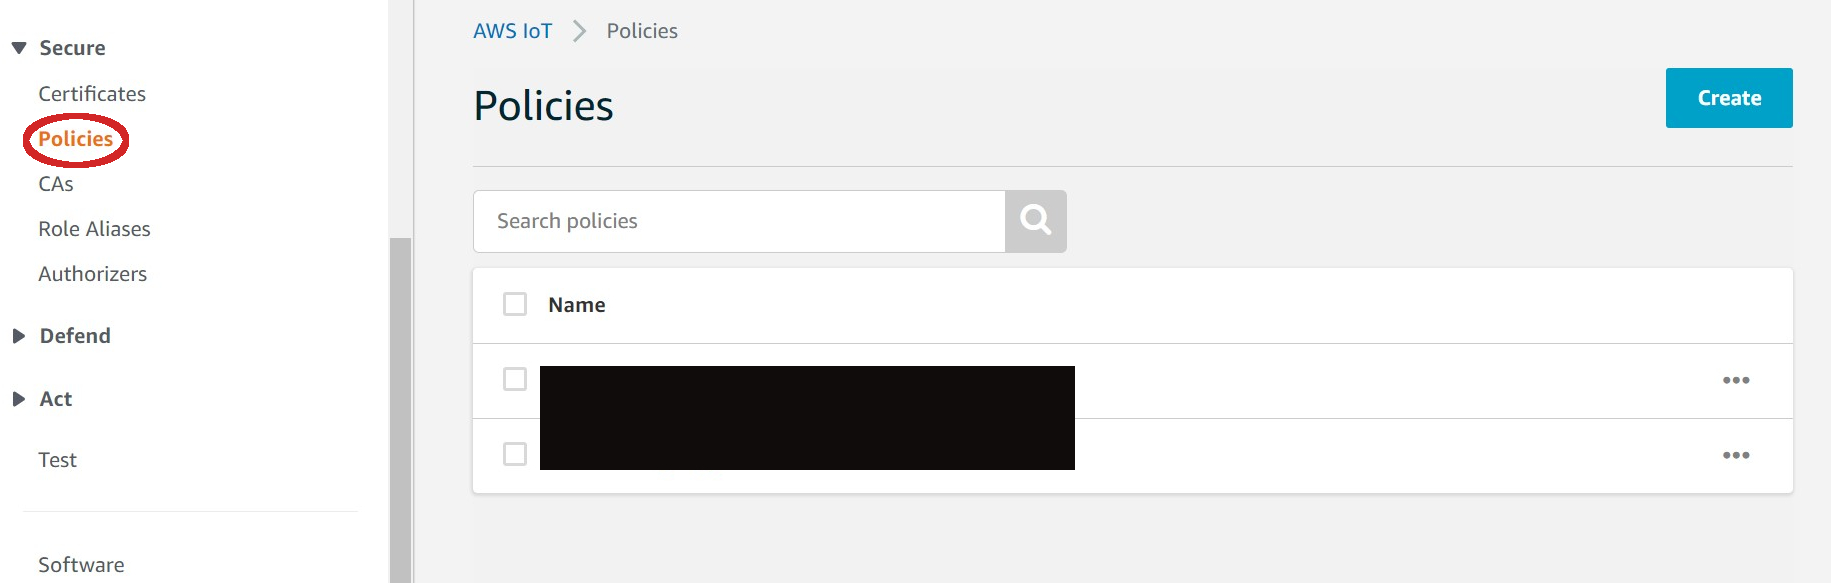 | ||
| - Click on **Create** | ||
| 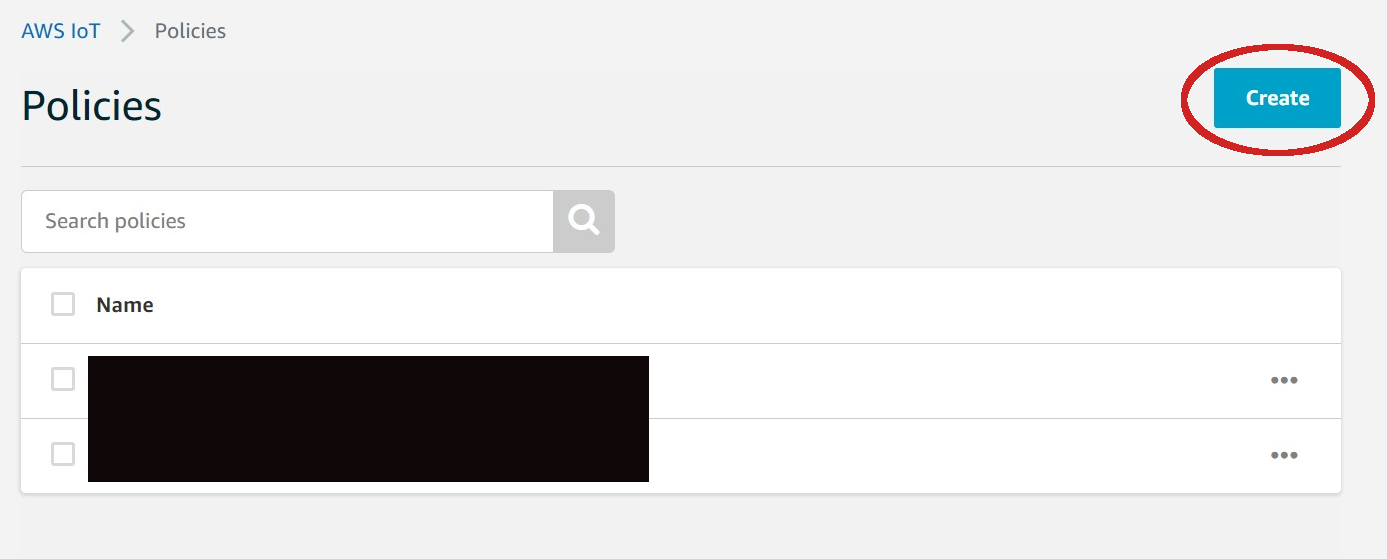 | ||
| - Click on **Advanced mode** | ||
| 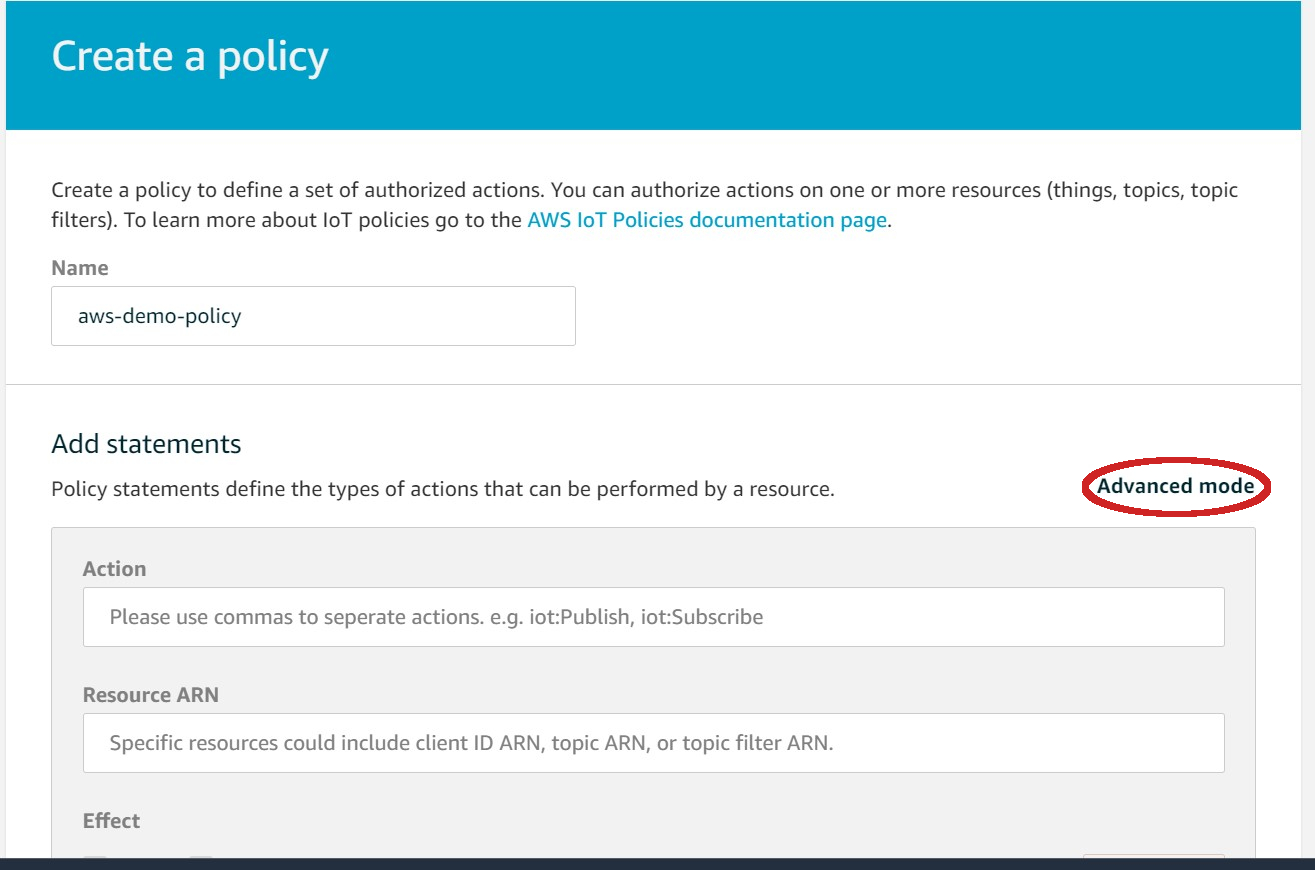 | ||
| - Fill in your policy as shown below then click **Create** | ||
| 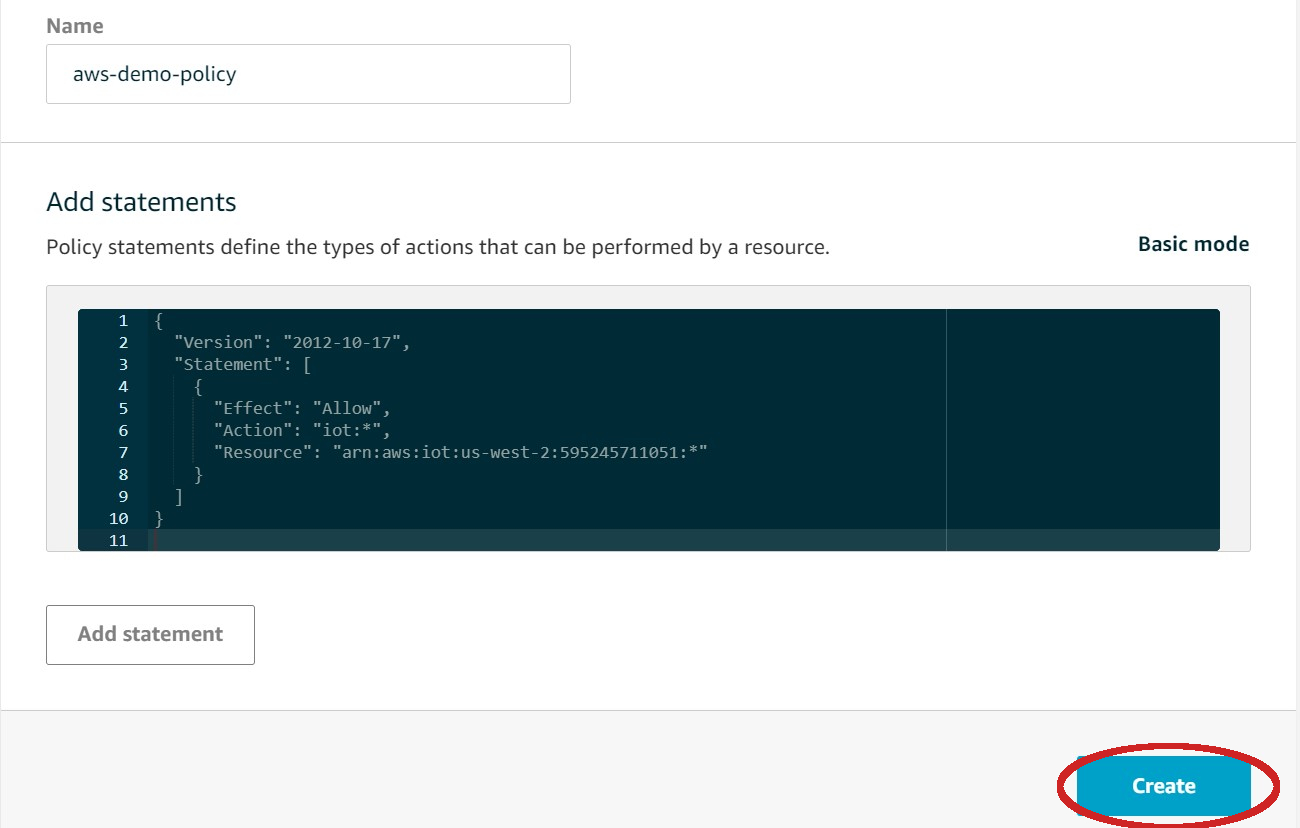 | ||
| **note:** you will need to substitute the **Resource** value above with your actual value from your **Thing** (which we will create next) by editing the policy after registering your **Thing**. | ||
|
|
||
| 2. Register a **Thing** | ||
| - Click on **Manage > Things > Create** | ||
| 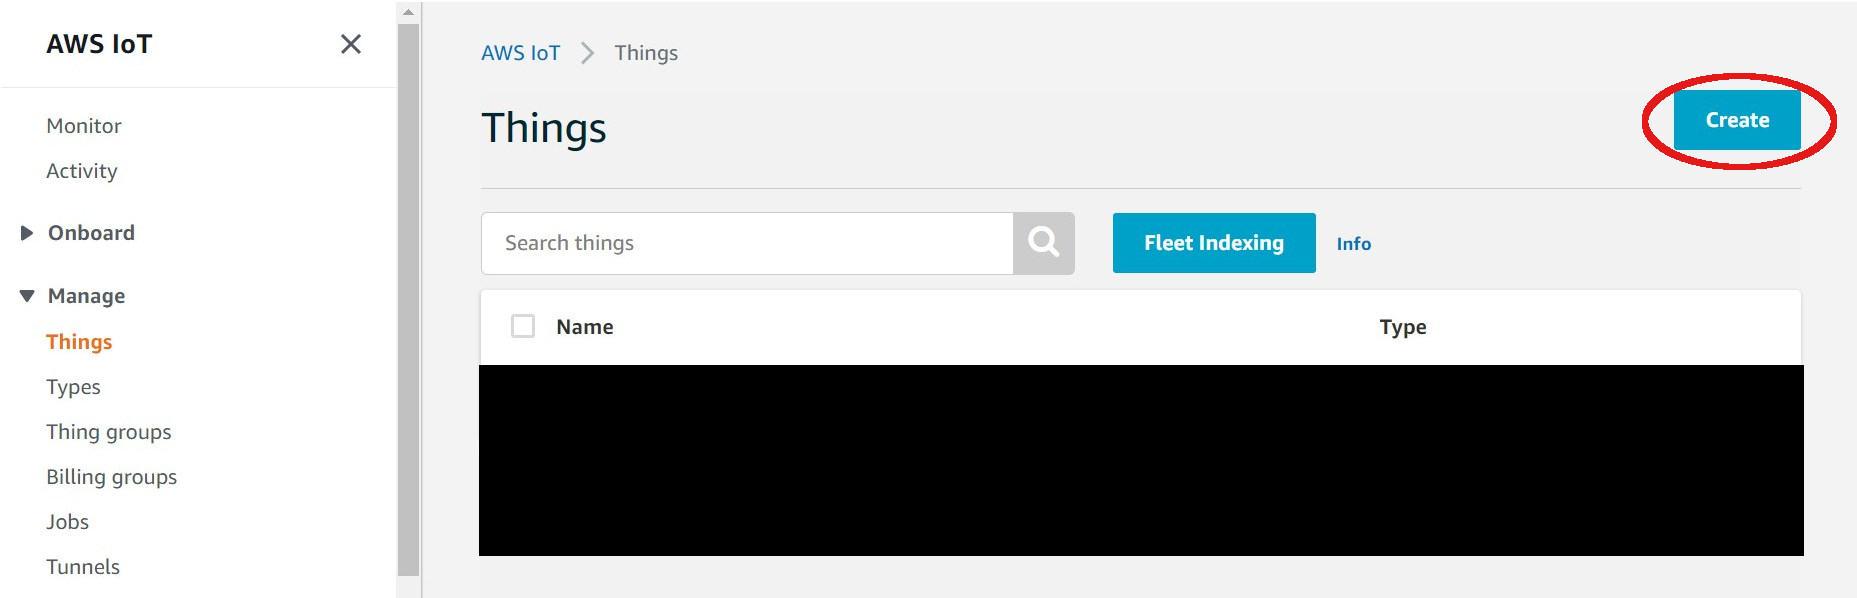 | ||
| - Click on **Create a single thing** | ||
| 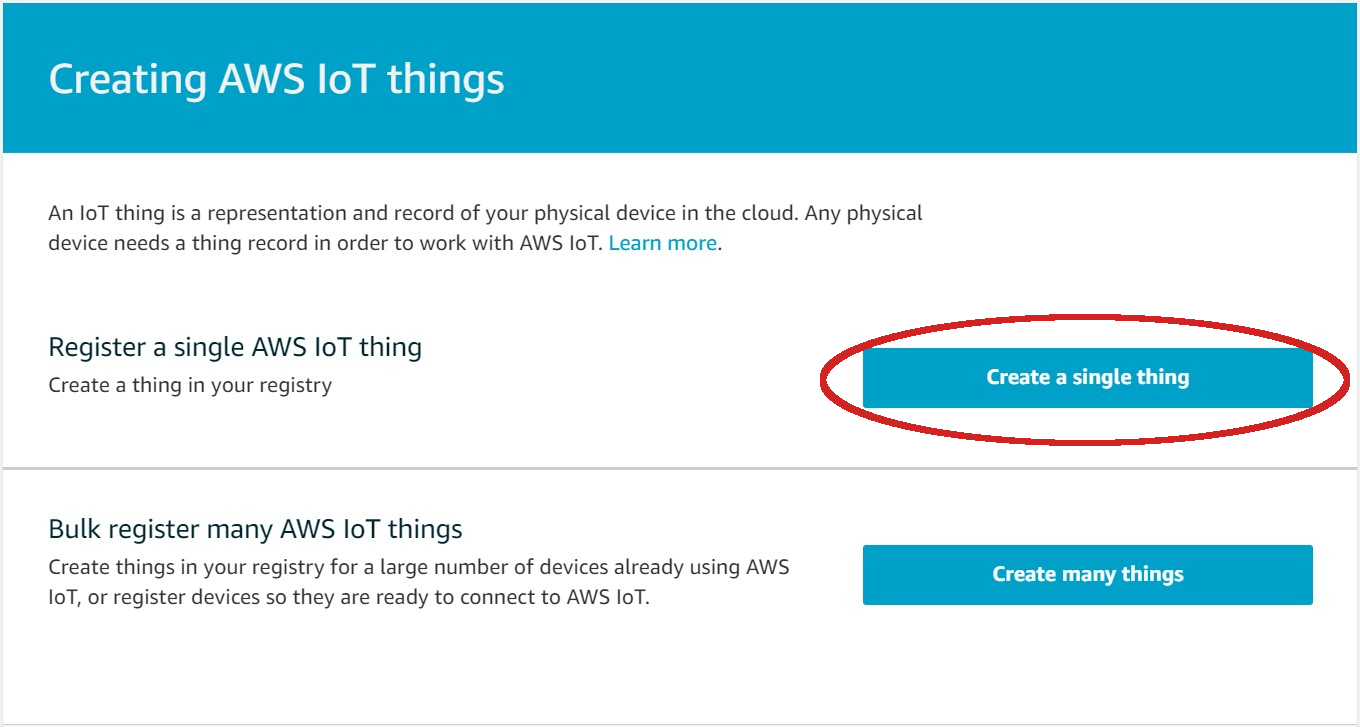 | ||
| - Fill in registry | ||
| 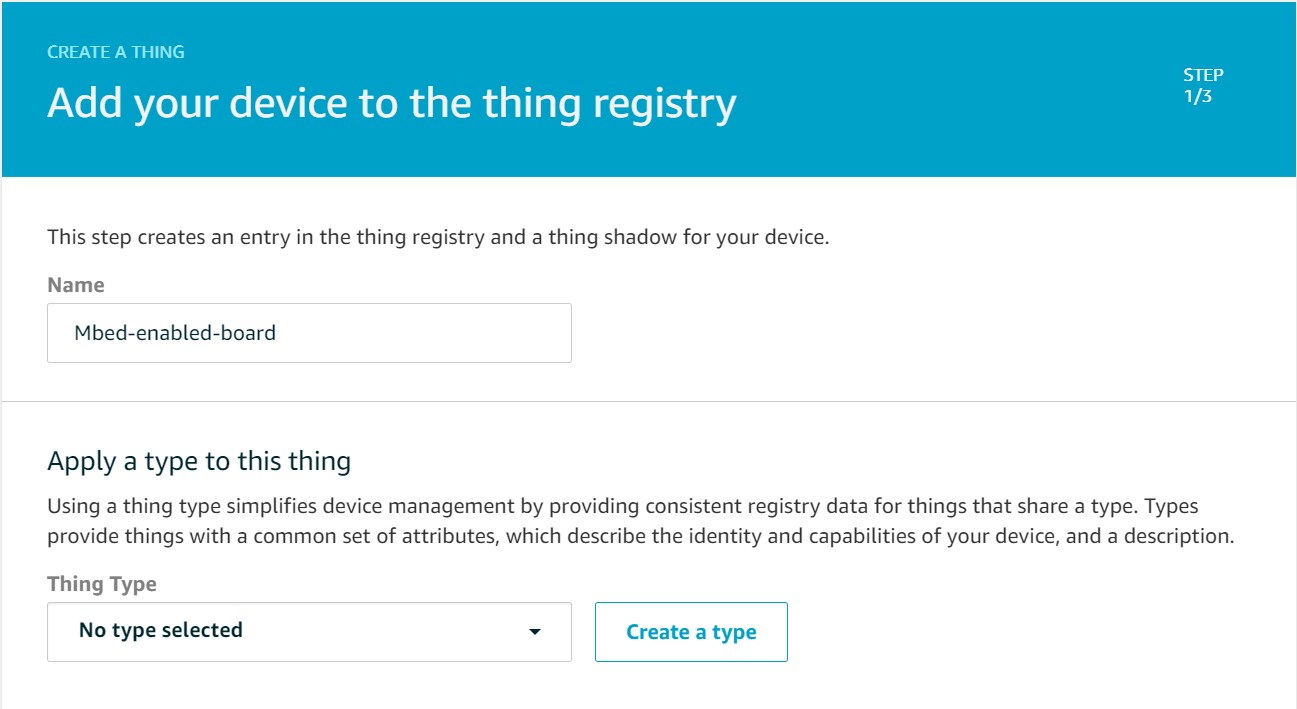 | ||
| **note**: no need to specify a type | ||
|
|
||
| 3. Generate a device certificate and keys | ||
| - Click on **Create certificate** | ||
| 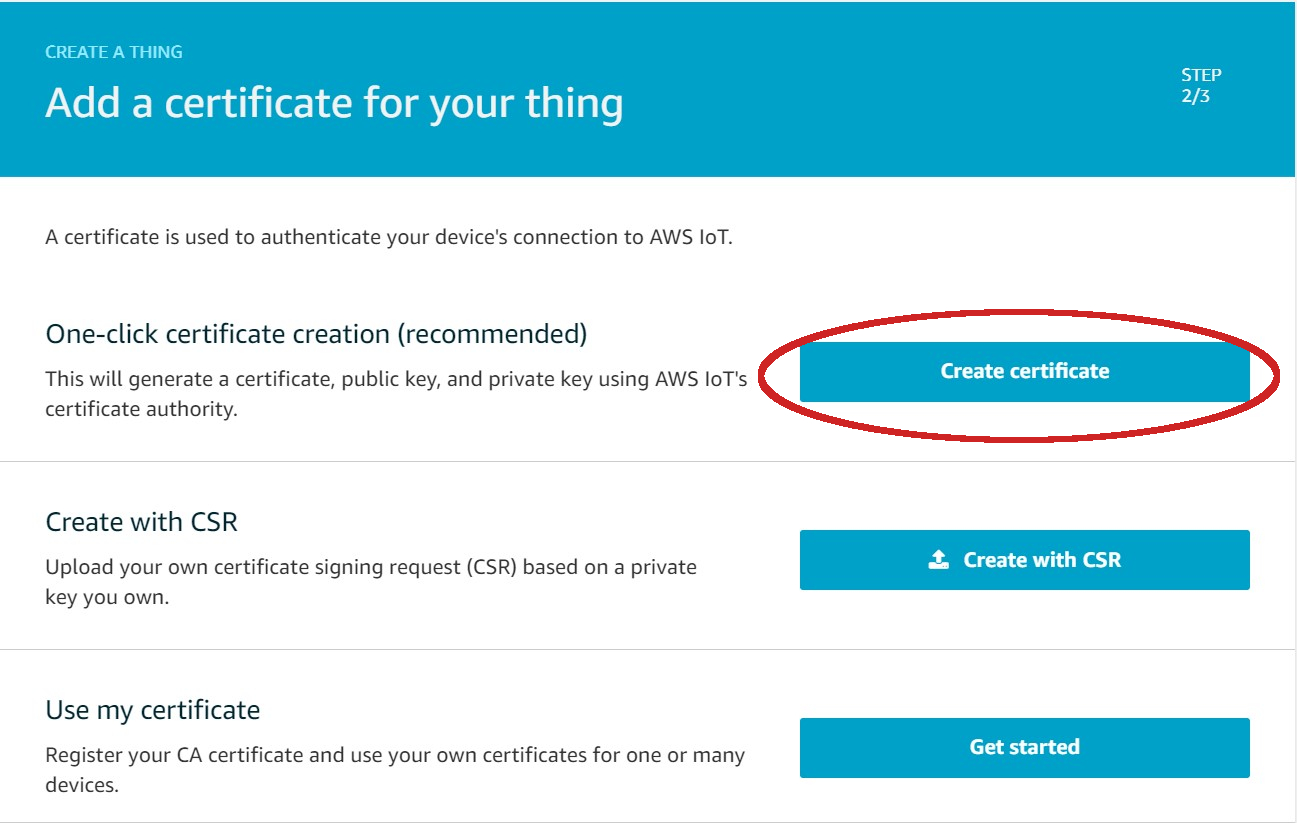 | ||
| - Download the public key, private key, and the certificate for this **Thing** then click on **Activate** | ||
| 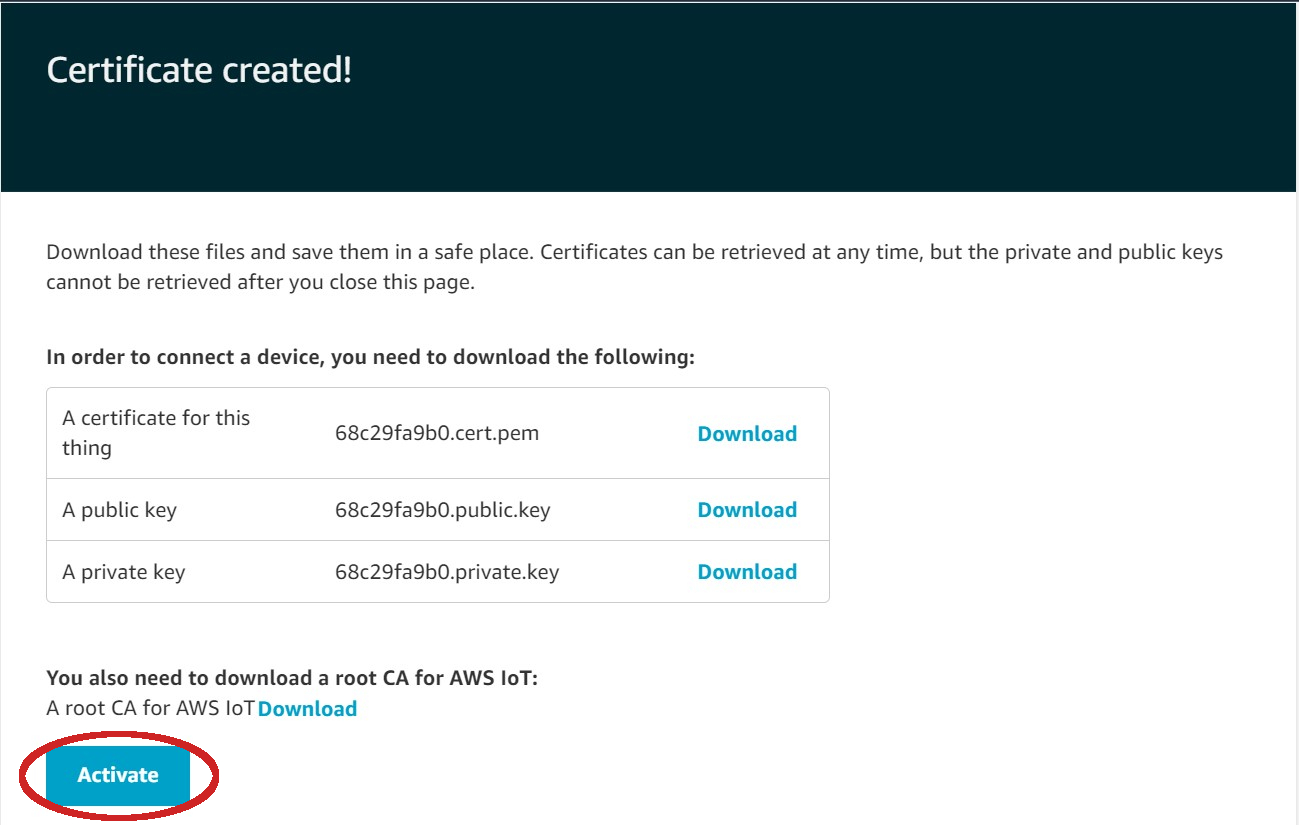 | ||
| - Click on **Attach a policy** | ||
| 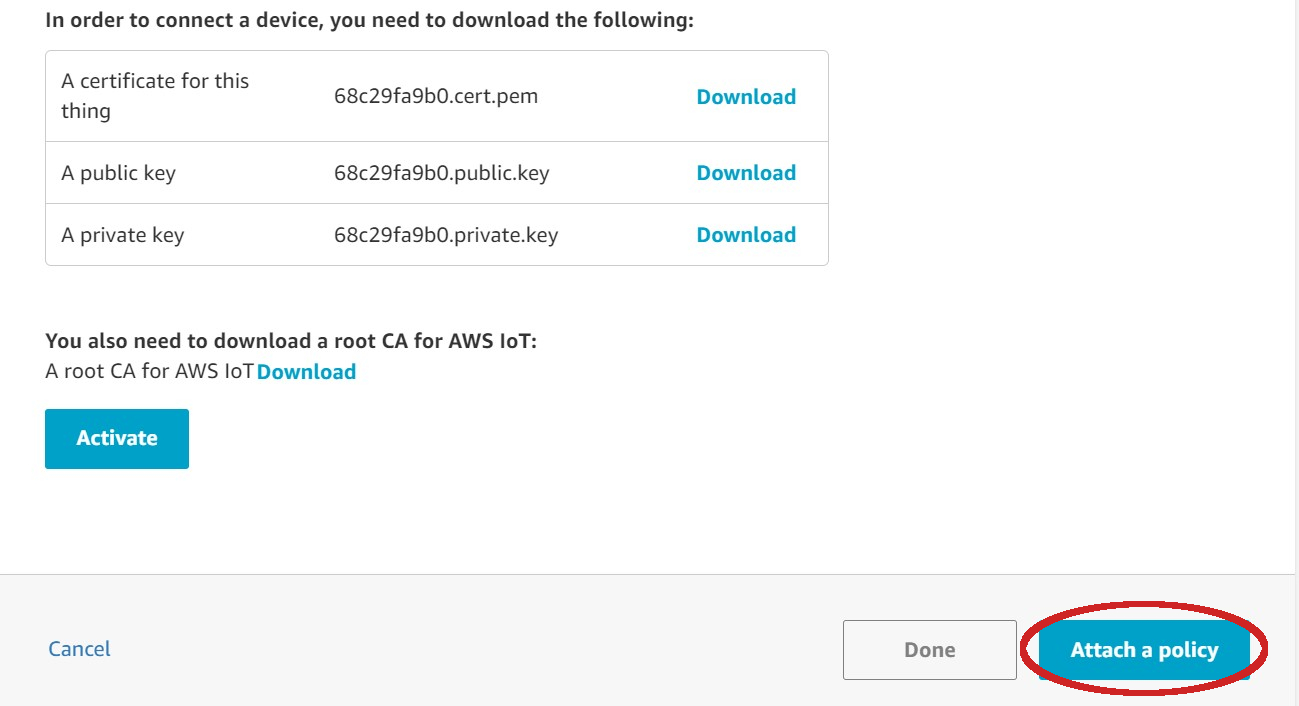 | ||
| - Ensure the correct policy is selected then click on **Register Thing** | ||
| 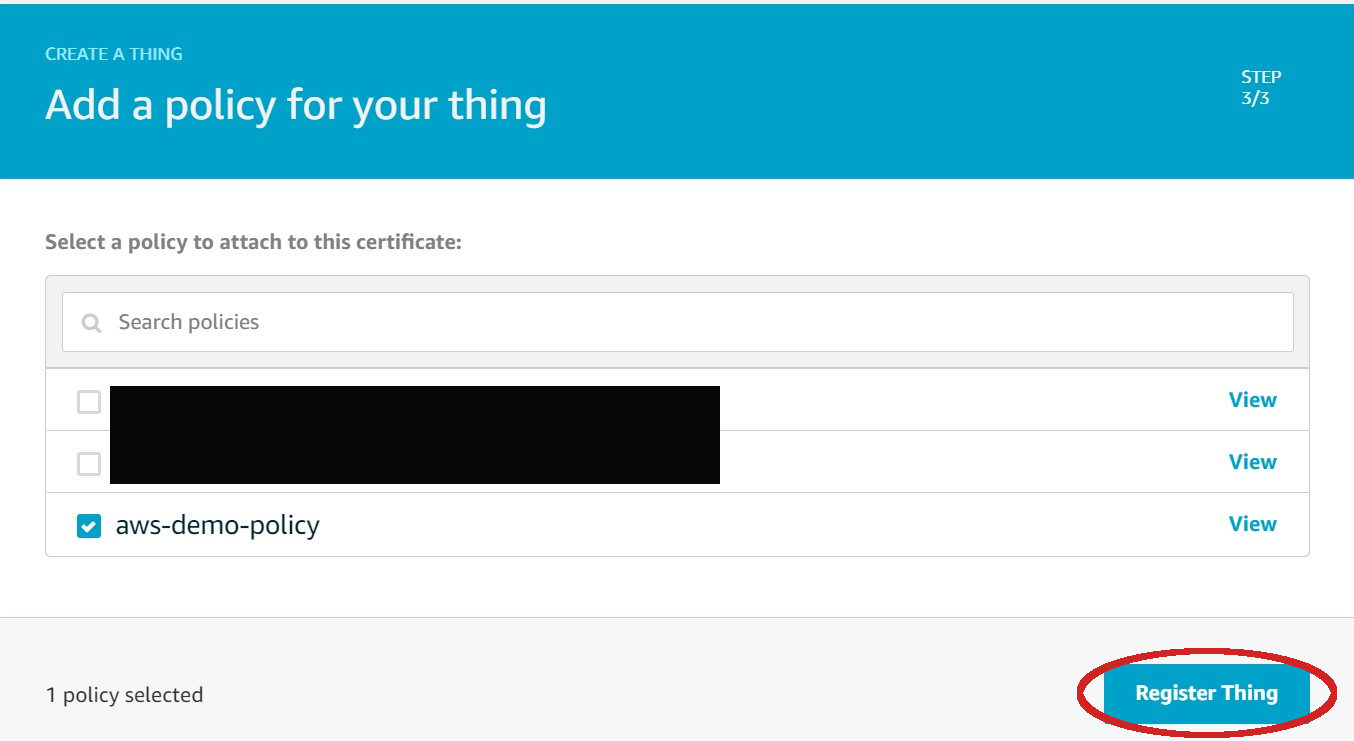 | ||
|
Comment on lines
+34
to
+64
There was a problem hiding this comment. Thanks for the detailed step-by-step guide. But it's effectively the same as this official page: https://docs.aws.amazon.com/iot/latest/developerguide/create-iot-resources.html. It's better not to maintain our own guide, as the service may change over time. Instead, maintain a link to an official one, and update the link as needed. There was a problem hiding this comment. I hadn't encountered that link before on the example docs. The links we had linking to AWS were this and this. But I agree that it would be helpful to include that new link on the docs. I suppose we could include the pictures so that people can quickly get things running by looking at the screenshots and if something has changed they could still roughly know what to look for or use the link. @LDong-Arm What do you think? There was a problem hiding this comment.
Yea the links we had previously were not helpful, so the new link is needed.
Pictures put extra maintenance on us, as the UI of AWS (as an external website) may change over time. The AWS doc (new link) is quite short and provides the exact steps incl. every button to click. There was a problem hiding this comment. We should update the link. I agree with @ARMmbed/billing-old that pictures put extra maintenance on us and we don't want to repeat what the AWS doc already describes. |
||
|
|
||
|
There was a problem hiding this comment. This linked page has changed since we created this README initially. The new, useful one is https://docs.aws.amazon.com/iot/latest/developerguide/create-iot-resources.html - shall we simply point users to this new page. There was a problem hiding this comment. Yes, we should point to the new page. |
||
|
|
||
| Also download "Amazon Root CA 1" from [here](https://docs.aws.amazon.com/iot/latest/developerguide/server-authentication.html#server-authentication-certs). | ||
|
|
||
| Once you have downloaded the credentials, you will need to place them in the [`aws_credentials.h`](https://github.com/ARMmbed/mbed-os-example-for-aws/blob/master/aws_credentials.h) file of this example. | ||
|
|
||
|
|
||
| The example includes a python script to automate converting the credentials you downloaded from AWS into C-compatible arrays/strings. First, create a new folder in the project to store your credential files, eg: `mkdir aws-credentials`. Copy the previously-downloaded credential files into this subdirectory. | ||
|
|
||
|
|
@@ -52,15 +80,15 @@ You can build the project with all supported [Mbed OS build tools](https://os.mb | |
|
|
||
| The above command will read your credential files and place them into a C header file for you: `aws_credentials.h` | ||
|
|
||
| 3. Once you have created the "thing", you will need to obtain the custom endpoint name from the console. At the time of writing this document, you can find it under "Settings" in the IoT console. | ||
|
There was a problem hiding this comment. Don't change the line number. Using |
||
|
|
||
| In [`mbed_app.json`](./mbed_app.json) file, set `aws-endpoint.value` to be that of the custom endpoint. | ||
|
|
||
| 4. Set a topic that both your device and the cloud can publish messages to. | ||
|
|
||
| In [`mbed_app.json`](./mbed_app.json) file, set `aws-mqtt-topic.value` to a name you prefer, or use the default one. On the AWS console, you will then need to subscribe to the same topic name. At the time of writing this document, you can find this under "Test" on the console. | ||
|
|
||
| 5. Give your device a name by setting `aws-client-identifier` in [`mbed_app.json`](./mbed_app.json). | ||
|
|
||
| ## Building and running | ||
|
|
||
|
|
||
There was a problem hiding this comment.
Choose a reason for hiding this comment
The reason will be displayed to describe this comment to others. Learn more.
Please do not remove the badge
There was a problem hiding this comment.
Choose a reason for hiding this comment
The reason will be displayed to describe this comment to others. Learn more.
Understood, that was a mistake.