Store and visualize GeoGit repos in the cloud:
- Create GeoGit repo from a local repo, GitHub, or OpenStreetMap
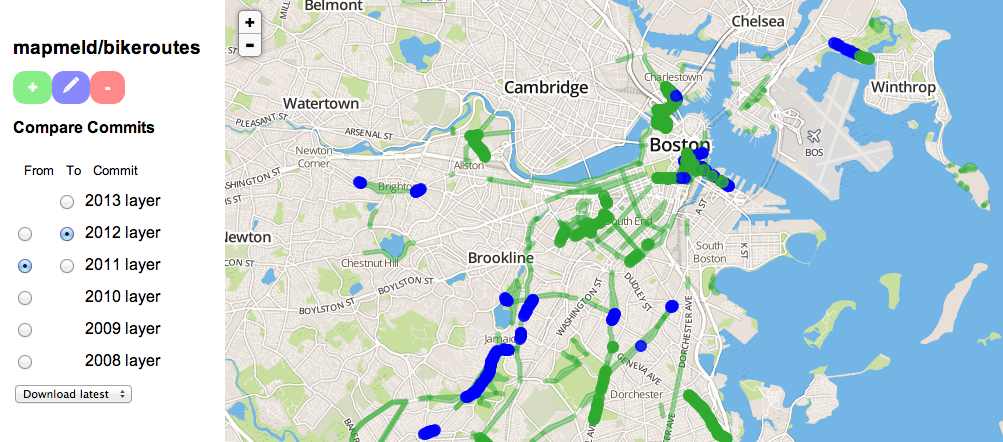
- Dial-a-Diff: compare any commits in the GeoGit repo history
- Download: get the latest version in GeoJSON, OSM XML, and Shapefile formats
-
Install git
-
Download the latest version of GeoGit from OpenGeo's GitHub
git clone https://github.com/opengeo/GeoGit.git ~/GeoGit -
Install GeoGit's prerequisites (Java JDK, Maven, Jetty)
-
Build GeoGit / run all tests with
  cd ~/GeoGit/src/parent
  mvn clean install
-
Set geogit user and e-mail. If you have issues see https://github.com/opengeo/GeoGit/issues/342
geogit config --global user.name "Your Name" geogit config --global user.email "[email protected]" -
Create a geogit repo somewhere. If you have issues see https://github.com/opengeo/GeoGit/issues/342
mkdir ~/mygeodata cd ~/mygeodata geogit init -
If you already have your data source, make your initial commit now
geogit shp import using_a_shapefile.shp geogit add geogit commit -m "initial commit" -
Start geogit's built-in API server
cd ~/GeoGit/src/parent mvn jetty:run -pl ../web/app -f pom.xml -Dorg.geogit.web.repository=/path/to/mygeodata/ -Djetty.port=8080 -
Test that API server is running by going to http://localhost:8080
-
Install and start MongoDB
-
Create an environment variable called SECRETKEY
-
Download geogit-viz from GitHub
git clone https://github.com/CityOfBoston/geogit-viz.git ~/geogit-viz -
Install Node.js and (if not included) NPM
-
Install dependencies and start server
cd ~/geogit-viz npm install node app.js -
View the map at http://localhost - note that no data will be visible in your initial commit
-
Install gdal and zip to create additional file formats
-
Make directories /root/github, /root/makeosm, and /root/empty
-
Describe services on /api, /push, /github, and /osm
-
If you have a shapefile, OSM XML, Spatialite, or PostGIS database, you can set up a local GeoGit repo
-
Stop any related GeoGit web API process before importing, adding, or committing data to a repo
-
Import and commit data to your GeoGit repo. The response after 'geogit commit' will let you know if any points were added, modified, or removed.
cd ~/mygeodata geogit osm import ../geogit-viz/osmoutput.osm geogit add geogit commit -m "updated geodata from server" -
You won't see changes on the geogit-viz map until your second commit. Until then, you can verify the API is working at http://localhost:8080/geogit/log
-
On /push, create a project and copy its GeoGit URL (for example, http://geoginger.com:8080/geogit ).
-
Push your GeoGit repo to the server
  geogit remote add gg GEOGIT_URL
  geogit push gg
-
Find a project's GeoGit URL (for example, http://geoginger.com:8080/geogit )
-
Clone the GeoGit repo from the server to a local directory
geogit clone GEOGIT_URL /Users/username/repodirectory
- geogit-viz has two example updaters which save ArcGIS REST API service data as OSM-format XML files (/update_from_gis and /update_dev_projects)
Are you already sharing maps on GitHub? GeoGit can import your GeoJSON files into a GeoGit commit history.
-
Register an OAuth application on GitHub: https://github.com/settings/applications/new
-
Add your OAuth keys as environment variables GITHUBCLIENTID and GITHUBCLIENTSECRET
-
Put the script inside user/project111 directory or set repo in generatefromgithub.py to 'user/project'
-
Create and populate the repo using this script
python3 generatefromgithub.py -
Apply future updates using this script:
python3 updatefromgithub.py
-
GeoGit script keeps track of changes to the city's data via ArcGIS REST API
-
Show changes to a dataset or a data-collection project over time
-
Track changes to OpenStreetMap
-
User exports data in preferred format
-
User can retrieve all changes since their download by sending a commit ID to the JSON API
-
User can clone a GeoGit repo and use it to keep sources of a TileMill map in sync with the GeoGit repo

