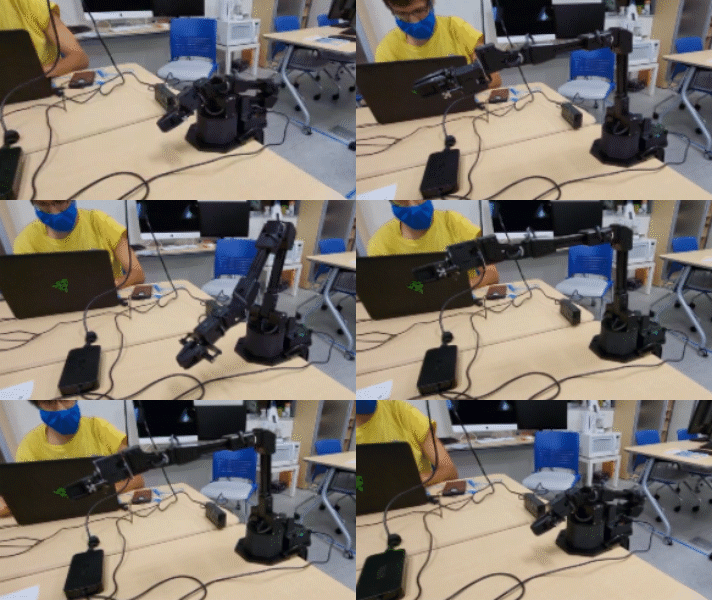
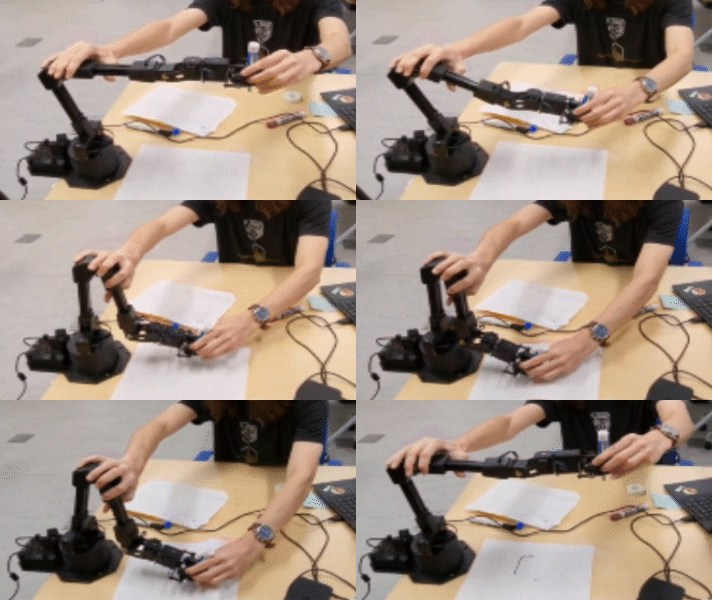
Robotic Arm software for Kinematics and Learning. Code examples modified from DynamixelSDK and easyDyamixel.
This project records a robot arm's actions in the record project folder and exports it to a text file. You can then playback those recorded actions in the playback project folder.
Record.exe or Record.sln will record the angles of a connected robot arm and export the positions into a file called "positions.txt."
In the folder "example_record" you will find the files necessary for recording a robot arm's actions. Open up the record.sln file in visual studio and make sure your the com value is set in the source.cpp file to the correct serial port on your device before running. You can find the port number of your arm by downloading and opening up Dynamixel Wizard 2.0 and checking the options tab.
Playback.exe takes a text file in the same directory, gets the motor angles from each line of the file, and sets the motor's angles to the retrieved values. In other words, it plays back a recorded behavior
In the folder "example_playback" you will find the files necessary for recording a robot arm's actions. // Note: running from the local windows debugger will not work. Build the playback application file and run that instead. The application will be built in ../Programming by Demonstration/example_playback/x64/Release/playback.exe //REQUIRED: You need a file called "positions.txt" in the same directory as the application file for it to run properly. (Or rename the target file in ode) Each line in the text document must containr 6 comma separated values, one for each motor angle.
In this project, we record several action behaviors and calculate Gaussian Mixture Models to fit change in angles over time for each motor. We then take these models and make the robot arm move based on these models. We have combined 3 different actions (cradle to home position, drawing a line, home position to cradle) and used interpolation bettween the end of one action and the beginnning of the next action.
In the Motion Primitives Folder, there is a project Folder titled "Gaussian Mixture Model" that contains a python file to run Gaussian Mixture Model fitting to a provided csv file. In this example, we used the Record project from the Programming By Demonstration to record a training data set so that we can fit a Gaussian Mixture Model to it.
We then copy the output of the Gaussian Mixture Model Fitting into the Motion Primitive project and use a loop from 0 to 1 with a small incrementing step to iterate over each of the 6 Gaussian Mixture Models and update the output angles of these models to each motor. To put things simply, we are playing back recorded actions by using a calculated model of these actions.
We calculated Denavit Hartenburg values for each of the motors and calculated the position of the end effector of the robot arm in 3D space. In this project, we combined a motion primitve from the previous project with Forward Kinematics so we can compare the calculated position with the position from the training data.
In the folder titled "Motion Primited Refactored" is a completely refactored version of Motion Primitives. At this point in time, we have not completed the refactored implementation but it would allow for real time comparison between the calculated 3D space postitions of the training data and the calculated positions from our fit Gaussian Mixture Models for a task.
TODO: We calculate a Jacobian from the Denavit Hartenburg parameters we calculated in the previous project. We have a goal end effector position and rotaation and use the Jacobian to calculate the angles required to move the robot arm to the desired position.
Download the Dynamixel Wizard 2.0 Select the version for your specific platform: Dynamixel Wizard 2.0
Install and Open the Dynamixel Wizard. Click on the “Options” gear icon.
On the right side of Options select the Scan tab the settings should be: The Scan tab the settings should be: ~Protocol to Scan: Protocol 2.0 ~Select Port to Scan: Select All ~Select Baudrate to Scan: 1,000,000 ~Set ID range to Scan. Start: 0 End: 7 Click OK
Now Click on Scan.
You should now see the motors of the Robot Arm show up in the Dynamixel Wizard.
Install Visual Studio Download Visual Studio 2022 Community from Microsoft’s website. Visual Studio 2022
Run the VS installer.
Check to install the “Desktop development with C++” Click “Install” in the bottom right corner. This installation will take around 10 minutes.
Install Dynamixel / Easy Dynamixel Download the github source code from the github repository. Dynamixel / Easy Dynamixel
If necessary, Extract the downloaded zip file.
Open up the example_read folder in the file explorer. Open example_read.sln file with MS Visual Studio.
On the right side of Visual Studio in the Solution Explorer, you should see a “Source Files” folder. Double click on source.cpp file to open it.
In source.cpp replace: COM3 with the Dynamixel Wizard reported as the port. On Windows, its COM followed by a number.
Ensure the two drop down menus on the top say “Release” and “x64”. If not, change them.
In the Solution Explorer on the right side of Visual Studio: Right-click on “Solution ‘read’ (1 of 1 project)” then Select “Build Solution”.
Now locate your newly built Read Executable file in your file explorer.
The compiled exe should be in the “example_read\x64\Release” folder.
The file should be named “read.exe”
Dynamixel Communication Protocol 2.0
Windows 10
Visual Studio


