In the words of Docker, "Compose is a tool for defining and running multi-container Docker applications. With Compose, you use a YAML file to configure your application’s services. With a single command, you can create and start all the services from your configuration." As you learned in the Compose readings, you can define a complex stack in one file and have it running with a single command! This means you would no longer need separate terminal tabs for running your server and your front end, and no more defining containers by hand! The people at Docker choose to call this gift Docker Compose.
Using Compose is basically a three-step process.
- Define your app's environment with a Dockerfile so it can be reproduced anywhere.
- Define the services that make up your app in
docker-compose.ymlso they can be run together in an isolated environment. - Lastly, use the
docker-compose upcommand so Compose will start and run your entire app.
Time to take on your destiny and write some fantastic Docker Compose files! To begin, you'll take a very simple Flask and Redis application and create a compose file to run it locally. Start off by taking a look at the skeleton.
The Flask app will contain the following components:
- The Flask server that accepts user requests and stores the data in Redis.
- Redis which acts as the database.
You are provided with the Dockerfile that will set up the Flask server for
you. What you don't want is one container running both the Flask server and
Redis database. Ideally, you want two containers - one for the Flask server, and
one for the database.
Since you have two main parts in the current architecture for your application
(server and database), you'll want to run two services. You will have a
service named web for the Flask server, and a service named redis for the
redis database. For the future, a simple rule of thumb is to create one
service for each image in your application.
Quick Reminder: indentation is how the YAML file formats group information, so indentation is important.
Start by filling out the version in the blank docker-compose.yml file.
For the rest of this phase, this is where you'll be working.
As you previously learned, docker-compose has many versions. For this project,
you will use version '3'. Take a look at the Compose documentation if
you need additional reference about syntax. Go ahead and add the version now.
For your Flask app, you will need to build the image in the Dockerfile in
order for it to run properly. If you need a reminder on how that is done, check
out the Docker documentation on the subject. Indicate to Docker
that you want to build and make sure to name your image using the image
command in your docker-compose.yml file.
Similar to how you usually run containers, you can set exposed ports and
environment variables for this image. Set the FLASK_ENV=development for your
environment. For this service, you'll also want to expose ports on localhost and
within the container at port 5000.
You won't need to customize the redis image - you are just going to use the
image straight from Docker Hub. Set the image command to use the
redis:4.0.11-alpine version.
Now try running it with the docker-compose up command! It'll take a while to
build because it has to pull the necessary images and build from the
Dockerfile.
The first thing it will do is create a new network for you, before building your image.
Creating network "phase1_default" with the default driver
Building web
Step 1/7 : FROM python:3.7.0-alpine3.8
 ---> cf41883b24b8
Then it will run through the steps in the Dockerfile. After it has built your image, you'll see a message that both of your containers have been started and attached to the network.
Creating phase1_web_1   ... done
Creating phase1_redis_1 ... done
Attaching to phase1_web_1, phase1_redis_1
Then, you'll get some colored logs for each container!
You can use CTRL+C to exit the logs. You'll see this message as you exit:
Stopping phase1_redis_1 ... done
Stopping phase1_web_1   ... done
A quick docker container ls or docker ps will confirm that your containers
are no longer running. If you use the docker container ls -a or docker ps -a
command, you'll see your containers and that they have just stopped. If you use
the docker network ls command, you'll see the network that had been
automatically created for you is still there. Let's try that again. Use
docker-compose down so that Docker Compose will remove the containers
and network.
Now try running docker compose up -d to run compose in detached mode.
Then use docker-compose ps to view your running services.
     Name                   Command               State           Ports
--------------------------------------------------------------------------------
phase1_redis_1   docker-entrypoint.sh redis ...   Up      6379/tcp
phase1_web_1     /bin/sh -c flask run --hos ...   Up      0.0.0.0:5000->5000/tcp
Reminder: If you did have to change something in your Dockerfile and
rebuild your image, you need to use the docker-compose up --build or docker compose build command to rebuild the image. Otherwise, Compose won't know about
the changes!
Let's try out the Flask app! Head to http://localhost:5000 and you should see
an empty array.

You could use Postman to test your app or use the below command to send a 'POST' request:
curl --header "Content-Type: application/json" \
--request POST \
--data '{"name":"Jake"}' \
localhost:5000
You should get a response with the name. Now head to
http://localhost:5000. If you see Jake, then you've done it!

Take a moment to observe what is going on in the app.py file, where Redis is
being set up. As a reminder, containers on the same Docker Compose network can
refer to each other by service name. If you look below, you'll see where access
from the web container is set up to the redis container.
# host="redis" is referring to the name of your service!!
redis = Redis(host="redis", db=0, socket_timeout=5, charset="utf-8", decode_responses=True)
As you can see, the value of the host argument is set to redis. This is
because the name of the Redis service is redis in your Compose file. This
way, you can easily connect containers to each other with Docker Compose. You
can also specify network setups that are complex beyond the default network.
Make sure to use the docker-compose down command to clean up your containers
and networks. Also, don't forget to use Git from now on to commit your Compose
files.
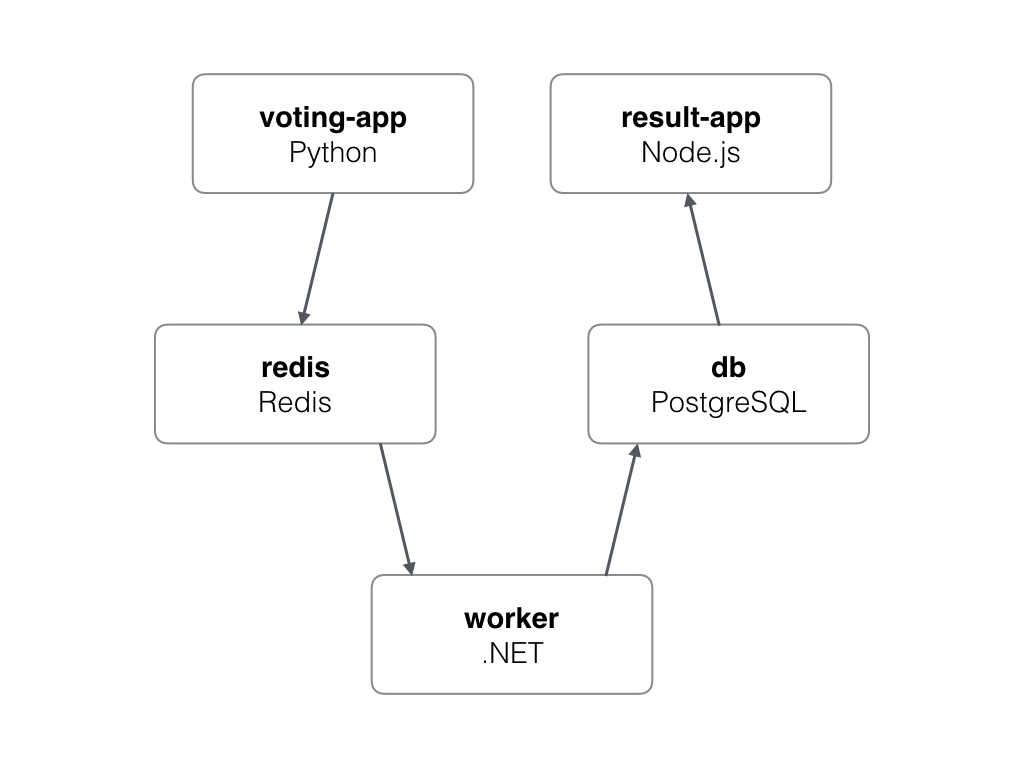
You will be creating the docker-compose.yml file for a voting application for
the world's toughest question: "cats or dogs?". Users can cast their votes,
which will be saved, and admin users can see the votes cast. This is an
application based on micro-services architecture, consisting of 5 individually
simple services.
- Voting-App: The frontend of the application written in Python, used by users to cast their votes.
- Redis: The in-memory database, used as intermediate storage.
- Worker: A .Net service, used to fetch votes from Redis and store in a Postgres database.
- DB: A PostgreSQL database, used as the database.
- Result-App: Frontend of the application written in Node.js which displays the voting results.
All of the images you need are on Docker Hub. You will be creating the services, exposing ports, setting up volumes, and connecting containers through your own networks. Let's get started!
Start off by defining your Compose version as '3'. You'll be creating five separate services and pulling their images from Docker Hub. The names of these services do matter. For the images, make sure you use the names for each service as described below. Additionally, you'll be creating two custom networks "frontend" and "backend".
Breakdown of the five services
- vote: frontend of the application written in Python.
- redis: in-memory key/value storage for incoming votes
- worker: used to fetch votes from Redis and store in a Postgres database.
- db: the database, where one named volume will be needed,
pointing to
/var/lib/postgresql/datain order to persist data. - result: node web app that shows results to administrators
| Service | Image | Local Port | Container Port | Network |
|---|---|---|---|---|
| vote | dockersamples/examplevotingapp_vote:before |
5000 | 80 | Frontend |
| redis | redis:3.2 |
Frontend | ||
| worker | dockersamples/examplevotingapp_worker |
Frontend, Backend | ||
| db | postgres:9.4 |
Backend | ||
| result | dockersamples/examplevotingapp_result:before |
5001 | 80 | Backend |
For your db service, you'll need to set an environment variable to
initialize your Postgres database. Take a look at the
official Postgres image documentation
on Docker Hub to learn more about How to extend this image by
setting environment variables in configuration.
To easily configure your first Postgres image, you'll set a
POSTGRES_HOST_AUTH_METHOD environment variable to trust. According to the
documentation, "it is not recommended to use trust since it allows anyone to
connect without a password." You'll get more real-application practice later in
today's project and in the future. In the next phase, you'll configure a
Postgres image by setting a POSTGRES_PASSWORD variable. In a future project,
you'll configure a Postgres image with POSTGRES_USER, POSTGRES_PASSWORD, and
POSTGRES_DB environment variables, similarly to how you would set the
DB_USERNAME, DB_PASSWORD, and DB_DATABASE environment variables for an
application.
Now try it all together! Run docker-compose up.
HINT: If you get yourself in a bind and need to clear out all docker objects, then run
docker-compose downfollowed bydocker system prune -a. It is thorough, so use with caution!
Notice that when you specify custom networks, Docker Compose doesn't automatically make a network for you. Compose just makes the networks you specified:
Creating network "phase_frontend" with the default driver
Creating network "phase_backend" with the default driver
If you use the docker compose down command, then the docker compose up -d
command, you can view running containers with the docker container ps command.
You can also view the networks that Compose created by using the docker network ls command.
Navigate to http://localhost:5000 and you should be able to vote
for either "dogs" or "cats". Once you've cast your vote, refresh and make sure
your vote persisted. Now checkout http://localhost:5001 to see the result
service at work. You can view the number of votes and who voted for what.
Hint: You can simulate being a second person using an Incognito or Private window in your browser. If you have multiple browsers you can pretend to be many people.

Awesome job! After you've debated about "cats vs. dogs", move onto the next
phase after running docker-compose down.
One of the best things about Docker is that you can easily work with unfamiliar technologies without spending hours to set up a development environment. For this next phase, you'll be using a service called Drupal. Drupal is a free and open-source content-management framework written in PHP. Even though you've probably never worked with Drupal, you'll quickly have it up and running!
You'll write a custom Dockerfile and start your app with Docker Compose. When
configured properly, you'll build a custom image and use the docker compose up
command. Remember to store the db and config data in volumes so that your
application will remember changes across Compose restarts.
To make sure you remember, go ahead and create a .dockerignore file to
prevent your Dockerfile and the .git folder from loading into the image.
For this first part, you will be:
- Creating a custom
Dockerfilefor thedrupalimage. - Downloading and using
Gitto install a custom Drupal Bootstrap HTML theme.
Start by creating a Dockerfile that will be built from drupal:8.6.
You'll need to install Git for the next part, but the drupal:8.6 image
doesn't currently have it - meaning you'll need to download it! Use RUN to
invoke the apt package manager command to install Git:
apt-get update && apt-get install -y git.
Whenever you download anything inside a Docker container, the installation
almost always leaves extra files you don't want in your image. Clean up after
your installation by adding the command rm -rf /var/lib/apt/lists/*.
Make sure to use \ and && properly!
The next step is to change your working directory (WORKDIR) within the
container to access where Drupal keeps HTML templates (/var/www/html/themes).
Then use Git to clone in your chosen theme using the command:
git clone --branch 8.x-3.x --single-branch --depth 1 https://git.drupal.org/project/bootstrap.git
Note: The reason you are telling Git --single-branch --depth 1 is because
you only want the most recent version of this one branch. This saves you a ton
of time over downloading all the branches, so it's a handy way to avoid extra
bloat in your image.
Now you just need to solve one last problem. Something you might encounter while
working with Docker is having to change file permissions.
The files you just used Git to download have been put in the directory under the
ownership of root. However, the drupal image is expecting all the files it
will be running to be under the ownership of the www-data user. This means you
will need to change the permissions of these files.
You will use the chown command to change the file ownership of these
permissions. Chain the following command to the last RUN statement in your
Dockerfile: chown -R www-data:www-data bootstrap. When you use chown -R, you
are saying you want to change the owner for all files recursively (including
directories). This allows drupal to access all the files in the bootstrap
directory properly.
Now you will build your custom drupal image in a docker-compose.yml. Again
use version 3. You'll be using one custom Drupal service (drupal) and one
PostgreSQL service (postgres).
Build the custom Drupal image using the Dockerfile you previously created.
Name it <yourusername>/custom-drupal. Expose your local port 8080 and point
at port 80 in the container. Let this service know it depends on the other
one.
For the PostgreSQL service, you'll be setting up an environment variable and a
volume. Use the image for postgres:9.6 and set your environment variable for
the database password using POSTGRES_PASSWORD. Add a named volume for
drupal-data:/var/lib/postgresql/data, so the database will persist across
Compose restarts.
Use the docker-compose up -d command to start your application. Navigate to
http://localhost:8080 and you'll see this nice UI to configure drupal.

At this point all you want to know is if the HTML Bootstrap theme you
downloaded in your custom Dockerfile is available. Click the obvious options,
and use the "Minimal" profile, until you get to the database set-up page.
On the database set-up page, select PostgreSQL because that is the database
you are using. The following list corresponds directly to what you set in your
docker-compose.yml file.
database namesince you didn't specify the default name is 'postgres'.Database usernamedefaults topostgres.Database passwordwill be what you set thePOSTGRES_PASSWORDenvironment variable to.- Click
Advanced Options. The host name will be the name of your postgres service.

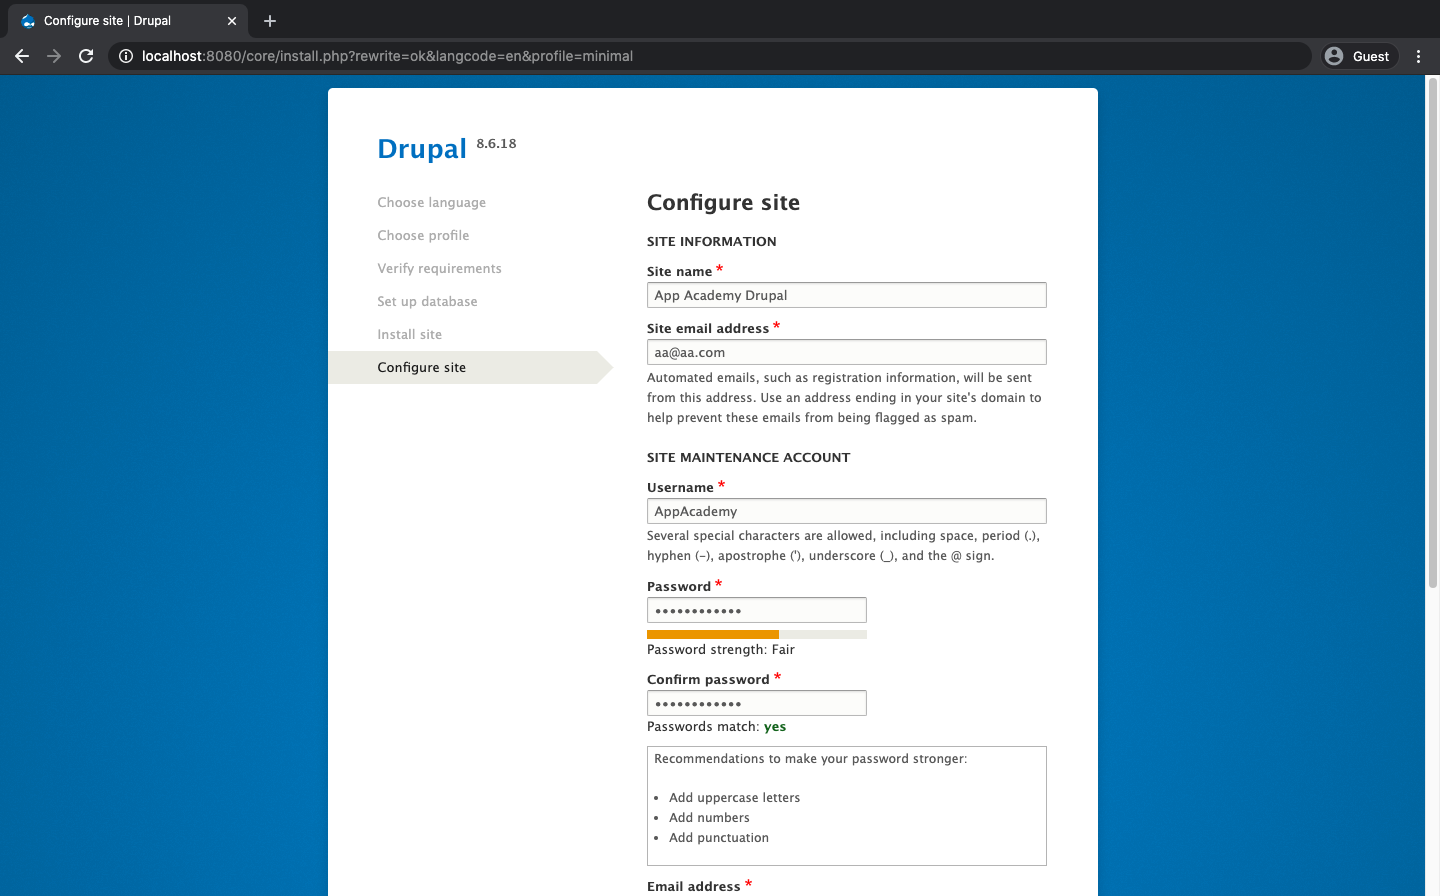
Next, Drupal will build your site! On the next page, you'll encounter a
'configure site' page which you can fill in with whatever you please, since you
won't be checking this site in the future. As a reminder, the email boxes will
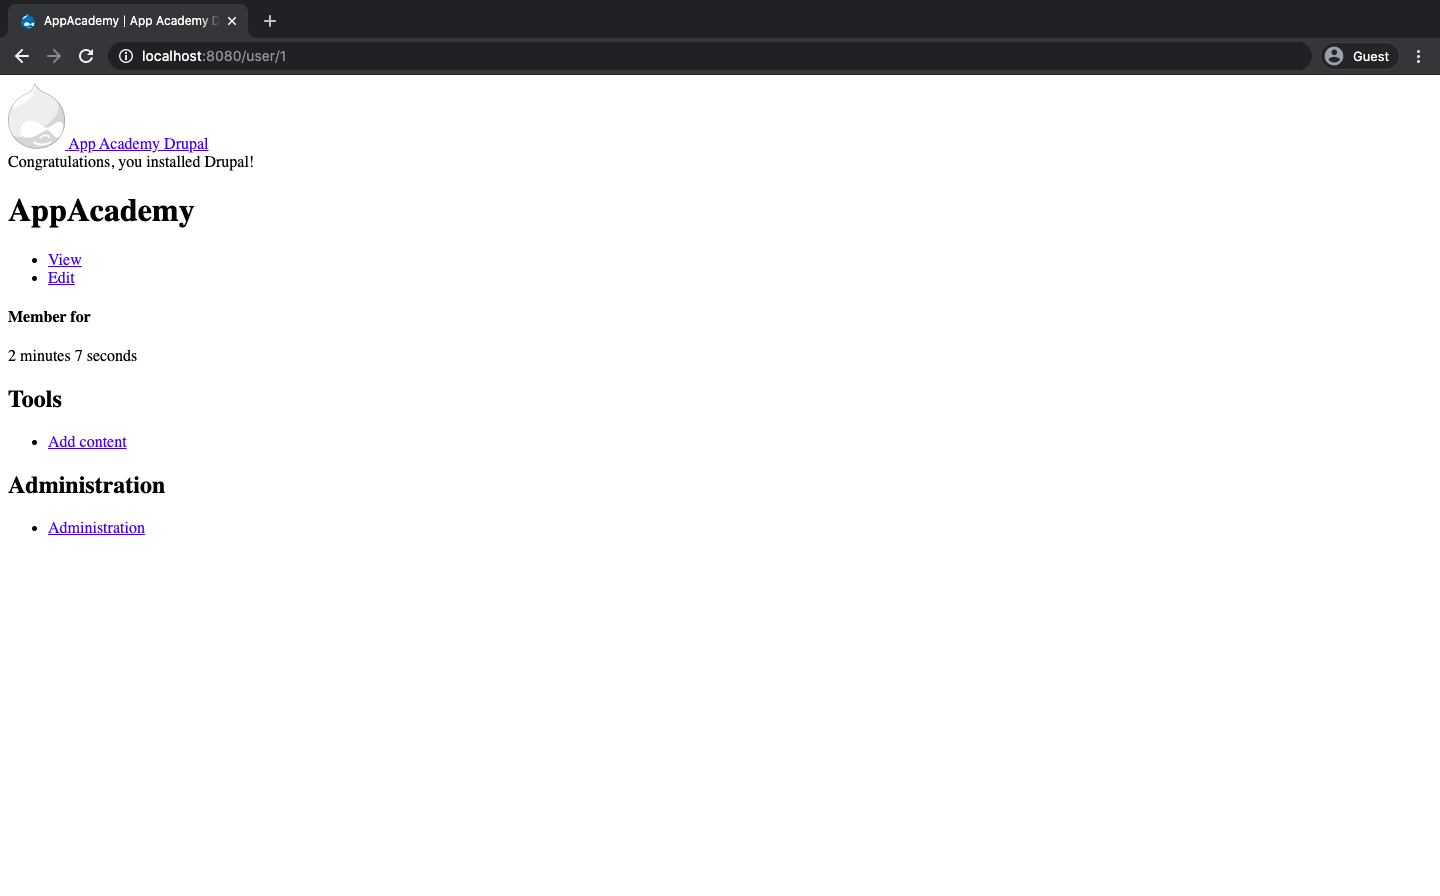
need an @ sign. After that, you should have access to the main Drupal service!
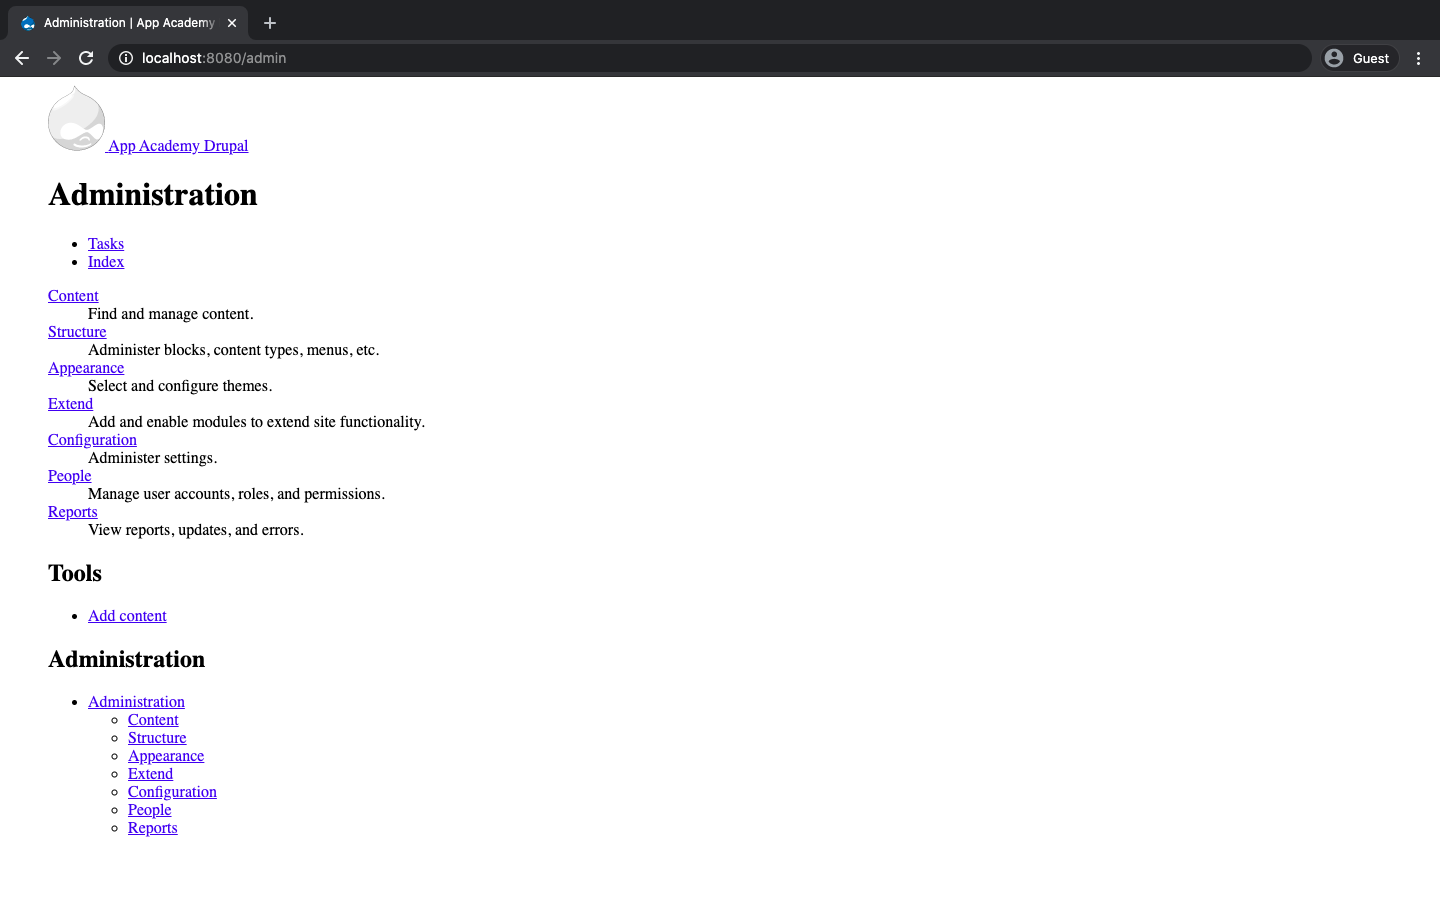
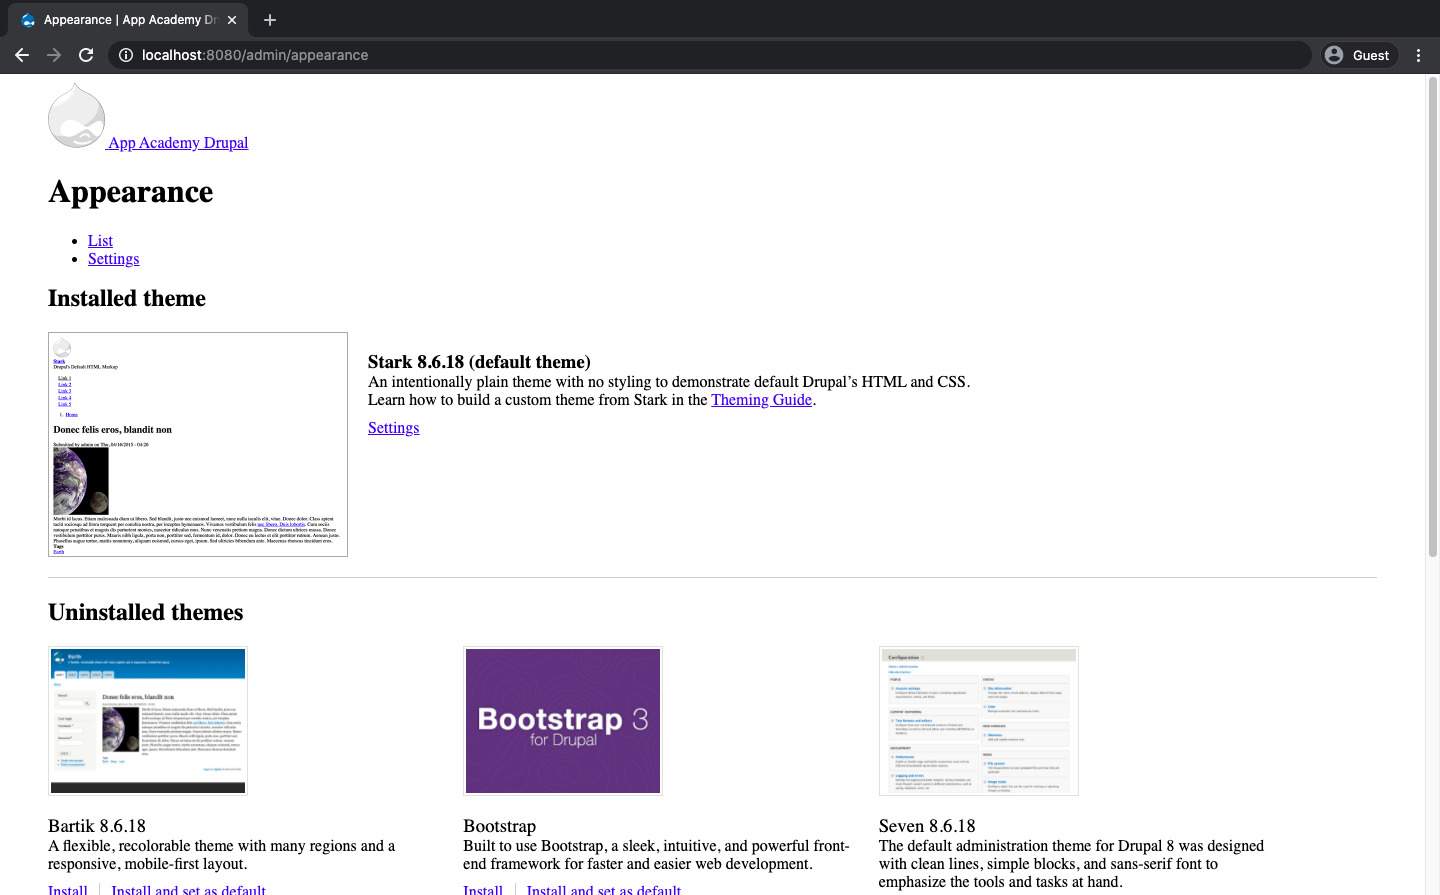
When the website comes up, click on Administration.
Then, click on the Appearance link within the Administration section.
If you see a theme called Bootstrap then you have been successful! Bootstrap
was the theme you were attempting to import - the one you added with your custom
Dockerfile.
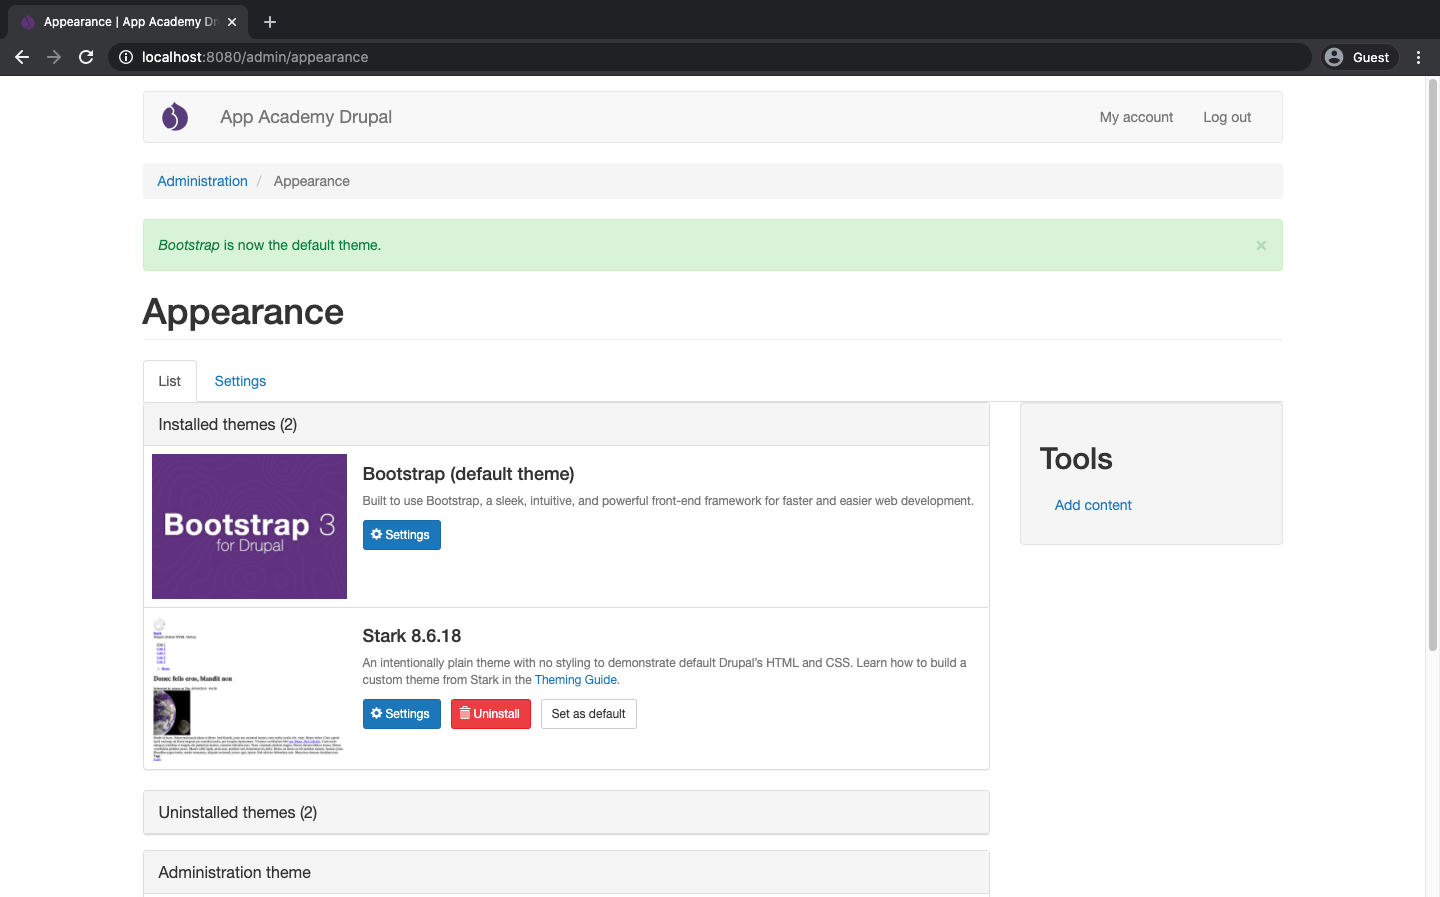
Click Install and set as default and then click your site name (in the top
bar). Now the website interface should be different. You've successfully
installed and activated a new theme in your own custom image without installing
anything on your host other than Docker!
If you exit (ctrl-c) back in your terminal and then use the docker-compose down command, it will delete your containers, but not the volumes. Since your
volumes are not deleted by running the docker-compose down command, your
application will be the same on next docker-compose up. To clean up volumes,
add -v to the down command.
Now you have all the tools you need to run and host your own projects locally with Docker!