ueditor and umeditor for Symfony 3.4 / 4. 为方便使用和学习而整合了ueditor 和 umeditor ,编辑器本身未改动多少以免带来混乱和轮子。 关于ueditor 的相关配置请参考官方文档。
symfony <= 3.3 请使用 1.0 版本
1.Step 1 composer 安装
composer require "jims/editor-hub-bundle:^2.0"
或者
{
    "require": {
       "jims/editor-hub-bundle": "^2.0"
    }
}
2.Step 2 添加到config/bundles.php 同时更新资源
// config/bundles.php

Jims\EditorHubBundle\JimsEditorHubBundle::class => ['all' => true],

//then update assets 更新资源:

bin/console assets:install public --symlink   #sf3
3.Step 3 Import routes to config/routes.yaml
// config/routes.yaml
jims_editor:
  resource: "@JimsEditorHubBundle/Resources/config/routing.yml"
  prefix:   /
4.Step 4 添加设置bundle 配置 于 config/packages/framework.yaml
//config/packages/framework.yaml
jims_editor_hub:
  ueditor:
      config_file: ~       #ueditor 的 配置文件的 默认文件: "bundle路径"+Resources/config/config.json
  umeditor:
      save_path:    "upload/umeditor/"                                  #存储文件夹
      max_size:     2000                                                #允许的文件最大尺寸,单位KB
allow_files: [ ".gif" , ".png" , ".jpg" , ".jpeg" , ".bmp" ] #允许的文件格式 use Jims\EditorHubBundle\Form\UeditorType;
use Jims\EditorHubBundle\Form\UmeditorType;
...
...
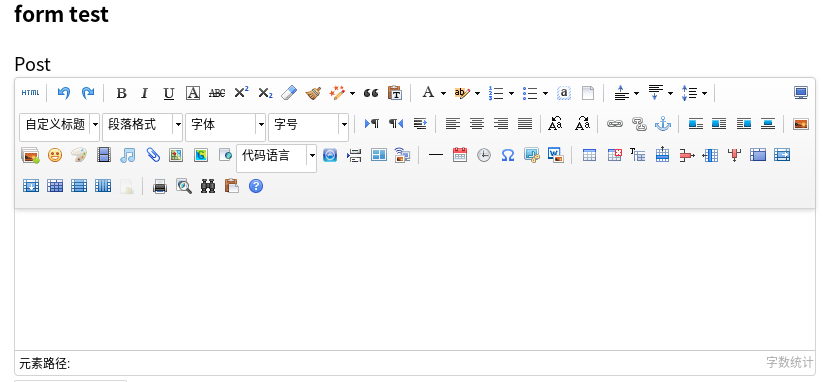
#使用ueditor
->add('content', UeditorType::class, array(
"attr" => array(
"style" => "height:400px;width:600px;", //editor转换成编辑器编辑空间尺寸
"class"=>"jims",
),
//通过自定义js, 控制editor toolbars
'js_script' => "window.UEDITOR_CONFIG.toolbars=[['fullscreen', 'source', 'undo', 'redo', 'bold']]",
))
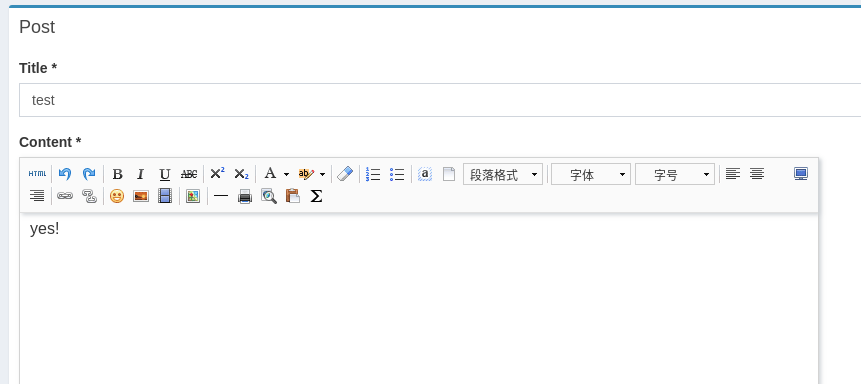
#使用umeditor
//->add('content', UmeditorType::class, array(
// "attr" => array(
// "style" => "width:555px;",
// "class"=>"jims",
// ),
//))