Trigger webhooks from your Logitech Harmony (or other Roku ECP compatible) Universal Remote
EcpEmuServer is a small ASP.NET application which allows you to add an emulated Roku ECP (external control protocol) device to your compatible universal remote in order to trigger webhooks. It is designed as a spiritual successor to HarmonySpan which provided the same functionality in a Node.js application.
Compared to HarmonySpan, EcpEmuServer aims to be;
- Faster & Lighter (the .NET 7.0 binary shows significantly less resource usage than its self-contained HarmonySpan equivalent);
- Easier to deploy, simple to host multiple instances across individual containers on the network (Docker Template coming soon);
- Easier to configure, with an intuitive rule-based architecture that allows many endpoints to be bound to a single button;
- Easier to expand and maintain - It does not depend on any third party libraries like the JS version did, and .NET is much more appropriate for this type of application.
Ensure your target system has a recent installation of the .NET Core 7.0 Runtime and ASP.NET Core Runtime which are available from Microsoft's website for many different platforms.
Download the latest EcpEmuServer binary from the releases page for your platform.
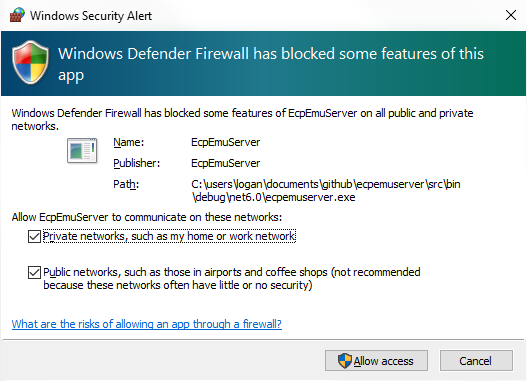
Extract the zip file and run the main executable. On Linux/macOS machines you might have to run chmod +x ./EcpEmuServer on the binary itself to enable the executable flag for that file. If you are asked for permission to let EcpEmuServer through your OS' firewall, allow it for both private and public networks.
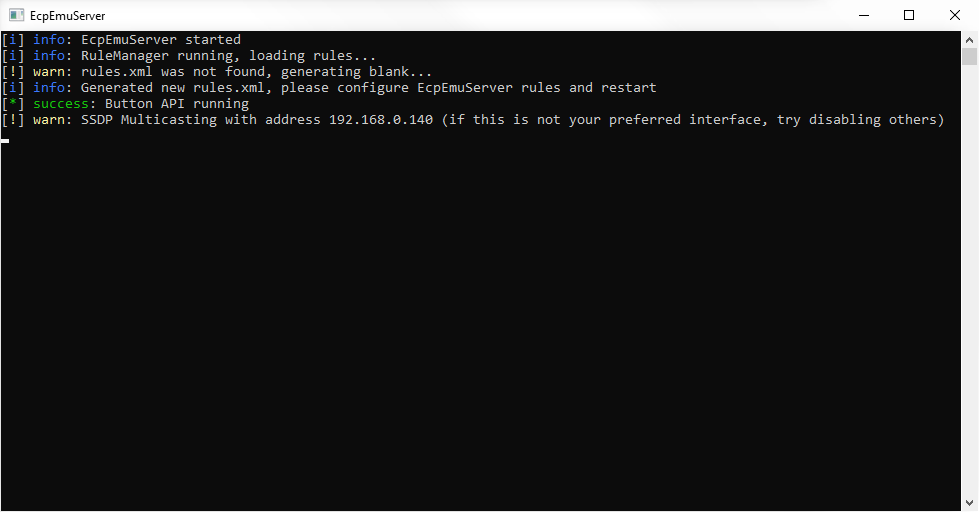
On first startup, a simple rules.xml file will be created that should look something like this;
<?xml version="1.0" encoding="utf-8"?>
<ecpemuserver xmlns:xsi="http://www.w3.org/2001/XMLSchema-instance" xmlns:xsd="http://www.w3.org/2001/XMLSchema">
  <rules>
    <rule>
      <Name>New Rule</Name>
      <Button>None</Button>
      <Action>GET</Action>
      <EndPoint>https://www.example.com/</EndPoint>
      <ExData> </ExData>
    </rule>
  </rules>
</ecpemuserver>
This is where you will be determining how EcpEmuServer should respond to specific button presses on your remote. The fields are defined as;
<Name>- the Name of your rule. Use this to keep track of all the different rules you create.<Button>- the Roku ECP button bound to this rule. These are the virtual buttons that EcpEmuServer emulates, pretending to be a real Roku device. You can use any of these 15 buttons;
  Home
  Rev
  Fwd
  Play
  Select
  Left
  Right
  Down
  Up
  Back
  InstantReplay
  Info
  Backspace
  Search
  Enter
These will be available as buttons you can add to Sequences in the Harmony app, and that is how you are meant to integrate rules with your universal remote.
<Action>- The type of action you wish to make with this rule. For most rules, and most APIs, an HTTPGETrequest is appropriate, but some endpoints require you to makePOSTrequests. You can also use theExecutekeyword to tell EcpEmuServer that it will be executing a program on the local system.<EndPoint>- the EndPoint of your rule - typically the URL of the webhook/endpoint you want to trigger if making an HTTP request. This can be anything from an IFTTT webhook or a Discord bot to an ESP8266 board or Home Assistant instance within your local network. If you're executing a local program, provide its path here (ex.C:\Windows\System32\cmd.exeor/bin/bash).<ExData>- extra data provided to the rule which changes based on the context of the Action and EndPoint. For example, this might be used to provide a body for an HTTP Post, or used to provide arguements to the application you're executing.
Keep in mind that all requests from rules are made from the machine running EcpEmuServer, not from the remote itself.
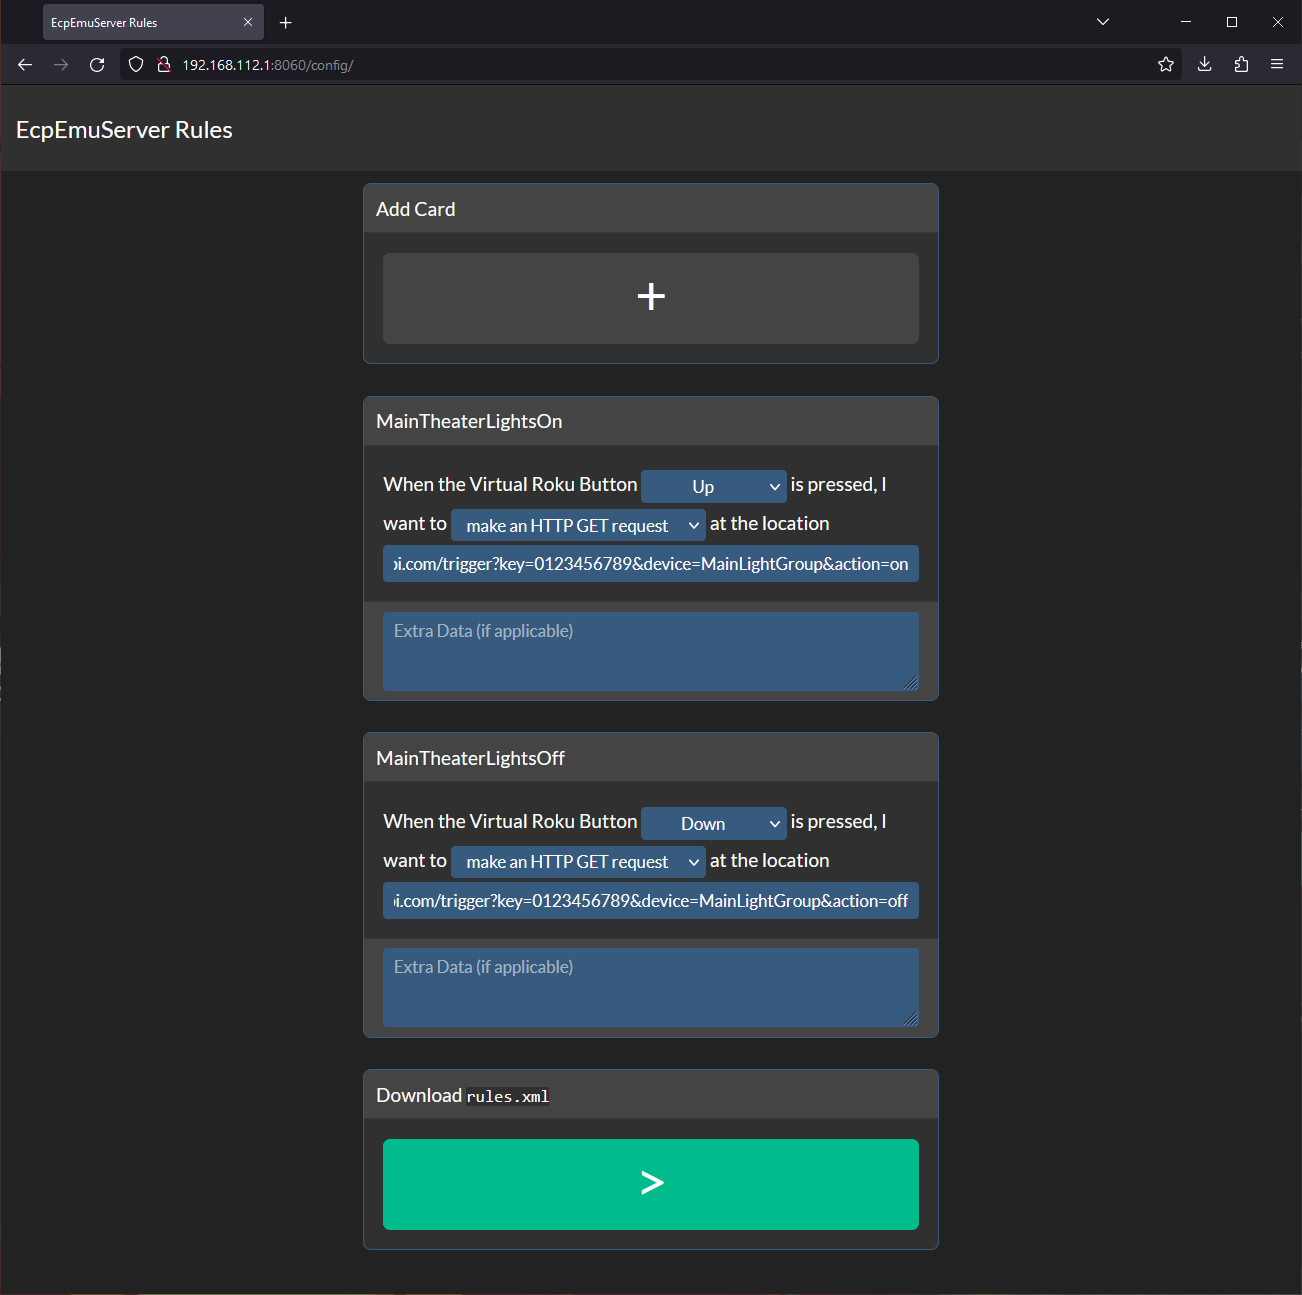
EcpEmuServer now ships with a graphical configuration utility which conveniently generates rule.xml files conforming to this scheme.
The options here are analoguous to the options available in the XML file. To create a new <rule>, press the large + button under Add Card.
You can bind as many cards to a single Button as desired.
Once all of your desired configurations have been made, you can export the rules.xml file by pressing the large > button under Download rules.xml. This file can replace the rules.xml that exists in your EcpEmuServer binary directory.
Note that the configuration utility is completely static - it will not load your current configuration, only provide and interface for quickly making a new one. This is by design - it is a security feature.
Example configuration;
<?xml version="1.0" encoding="utf-8"?>
<ecpemuserver xmlns:xsi="http://www.w3.org/2001/XMLSchema-instance" xmlns:xsd="http://www.w3.org/2001/XMLSchema">
  <rules>
    <rule>
      <Name>MainTheaterLightsOn</Name>
      <Button>Pause</Button>
      <Action>GET</Action>
      <EndPoint>https://www.fakeapi.com/trigger?key=0123456789&device=MainLightGroup&action=on</EndPoint>
      <ExData> </ExData>
    </rule>
    <rule>
      <Name>DiscordStatusUpdate</Name>
      <Button>Pause</Button>
      <Action>GET</Action>
      <EndPoint>https://www.fakediscord.com/webhook?token=j89d32jlknd0&whid=md9032m09g94</EndPoint>
      <ExData> </ExData>
    </rule>
    <rule>
      <Name>MainTheaterLightsOff</Name>
      <Button>Play</Button>
      <Action>GET</Action>
      <EndPoint>https://www.fakeapi.com/trigger?key=0123456789&device=MainLightGroup&action=off</EndPoint>
      <ExData> </ExData>
    </rule>
    <rule>
      <Name>CloseBlinds</Name>
      <Button>Play</Button>
      <Action>GET</Action>
      <EndPoint>https://www.fakeapi.com/trigger?key=0123456789&device=WindowBlinds&action=close</EndPoint>
      <ExData> </ExData>
    </rule>
    <rule>
      <Name>SomeLocalScript</Name>
      <Button>Back</Button>
      <Action>Execute</Action>
      <EndPoint>C:\Windows\System32\cmd.exe</EndPoint>
      <ExData>/C echo "Test"</ExData>
    </rule>
  </rules>
</ecpemuserver>
To make changes at any time, ensure you have stopped EcpEmuServer before writing to rules.xml.
Once you have configured EcpEmuServer, and have it running, you can add it to your Harmony Hub just the same as any other IP device.


