-
-
Notifications
You must be signed in to change notification settings - Fork 58
Usage Guide
This Guide helps you familiarize yourself with the 3 tools being provided in this package.
-
Clone the Repository
git clone https://github.com/Neo-Mind/WARP.git --branch <branch name> --single--branchFor e.g. you can use the 'rock-win32' branch for use in Windows Environment containing Scripts for RO client.
-
Go to the OS-specific directory inside the cloned repo. For e.g. it will be
win32for Windows. -
Launch the tool you want and you are ready.
For Windows, it is available as WARP.exe inside the win32 folder.

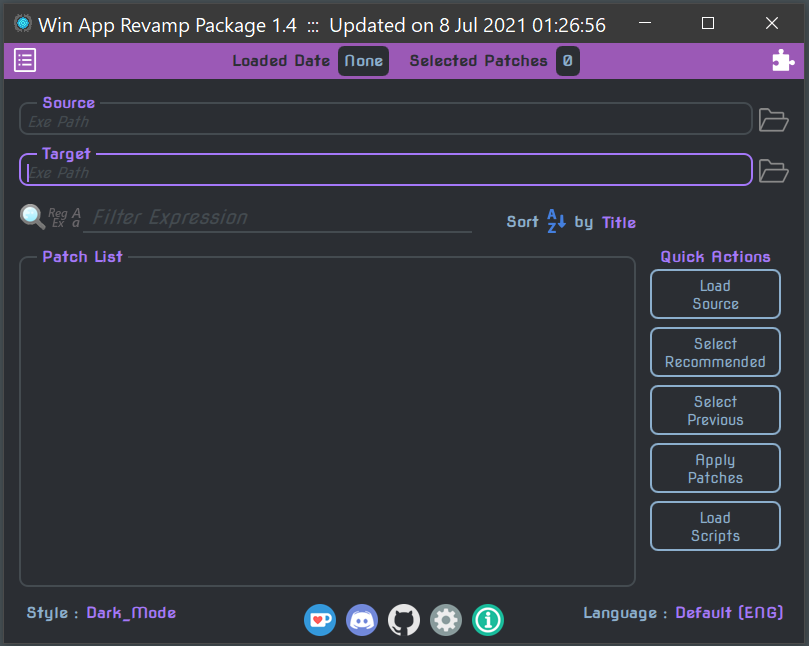
A typical workflow with the Main GUI is as follows:
-
Load the
Sourceapp.You can either type in the full path OR use the browse button to select the exe and click
Load SourceAlternatively you can also drag & drop the exe on the tool for it to get loaded. If you drop the file in the
Sourcebox, only the path is set. -
Select the Patches you want.
-
Some of the Patches ask for specific inputs from you, so provide them as well.
-
Once you are ready click
Apply Patchesto create theTarget.
In case you are interested in Extensions instead:
-
Open the Extensions drawer either by clicking
 OR swiping left from the right edge.
 -
Click
Load Extensionsif your extension is not present. The drawer would need to be opened again in this case. -
Load the
Sourceapp if you need something from it, which is usually the case. -
Click the Extension you want and it will run.
-
Similar to Patches, sometimes Extensions also expect specific inputs from the user, so you need to provide those.
-
Once completed either a message pops up OR it can open a generated file instead.
Refer Main GUI for further details about the interface.
Console is essentially a minimalist version of Main GUI and can solely be used for patching (as of now).
You need a Session File ready with you.
For Windows, the tool is available as WARP_console.exe inside the win32 folder. It is invoked as :
<path to WARP repo>/win32/WARP_console.exe -using <session path> [-from <source path>] [-to <target path>] [-language <language name>]
Refer Console for further details.
For Windows, it is available as WARP_bench.exe inside the win32 folder.

A typical workflow with the Test Bench is as follows:
-
In the Patches tab, Click
Get Patchesand select those which you wish to test. -
In the Extensions tab, Click
Get Extensionsand select those which you wish to test. -
In the Testers tab, Specify
Test Dircontaining the test applications. -
Click
Get Exesand select the applications you wish to use for testing. -
Finally, click
Run Testor press Ctrl+T to perform the tests.
If you need to interrupt the run press Ctrl+Q. -
The UI will automatically switch to the Results tab and you can view the Output section to see the test results.
In case you wish to perform any script evaluations you can do so in the Script Editor section underneath Output.
It's results also get sent to the Output section.
Refer Test Bench for further details.